Welcome to Moda Fabrics!
Tip Jar: Bias noodles...
Tip Jar: Bias noodles...
Published:
Aug 26 2016 - 04:00
Bias binding. Long strips. Quickly.
There are two schools of binding. Straight of grain. Bias. Some of us only go to one school, no matter what, and some of us switch back-and-forth based on the fabric we're using, the amount of fabric we have available, the look we want... how much time we have.
Most of the bindings I do are cut on the bias. There are those who will tell you that it's better because it's stronger, wears better... everybody has a reason. It's just the way I learned how to make binding. Truth be told, I think that's the reason most of us have a preference. It's what we know best.
(And bias binding is required if you're using a rounded corner. Since I was binding quilts for a few years before I finally learned how to do a mitered corner properly - and well - I was a big fan of rounded corners on quilts. )
Have you ever heard of "continuous bias binding"?
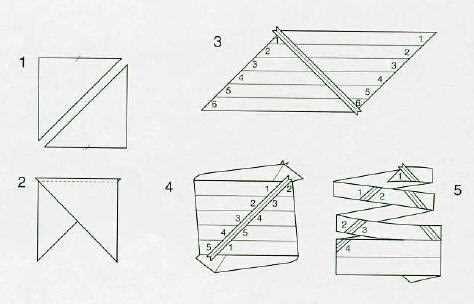
This image is a perfect depiction of the technique - it's from Popular Patchwork.
It was a very popular technique... until the folks at Olfa invented the rotary cutter. Those lines in diagram 3 - they were drawn onto the wrong side of the fabric using a pencil or permanent pen and a ruler. Diagram 5 - the continuous binding was made by cutting on the drawn line with scissors. Whatever time you saved by sewing two long seams instead of a few dozen shorter seams sort of evaporated.
With rotary cutters, we can cut a lot of accurately sized strips in a fairly short period of time. There are two methods that make cutting really long strips a whole lot easier. Both start with the same couple of steps - squaring up your fabric.
Before you continue...
- Stop twitching. My rotary cutter blade was left open so I could take a picture. No fingers were harmed and children were not present.
- Yeah... I kind of need a new cutting mat. I've been on a bag-making bender and have been cutting fleece and batting. This is about as clean as it's getting... and these mats are several years old.
- Please excuse the folds and creases in the fabric. It has been sized, folded and toted back-and-forth to work a few times. A little steam and presto... smooth as new.
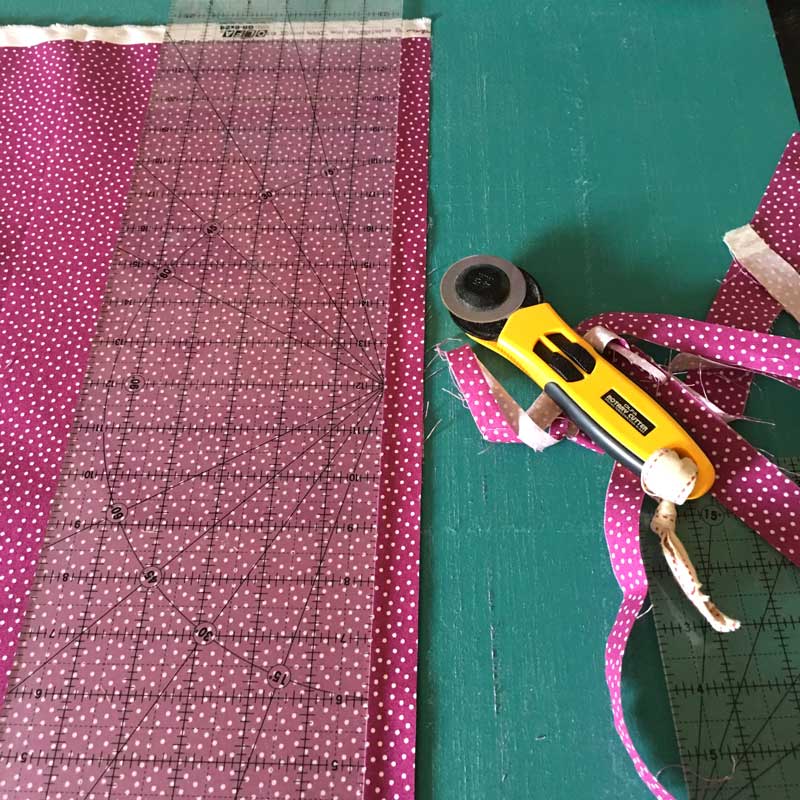
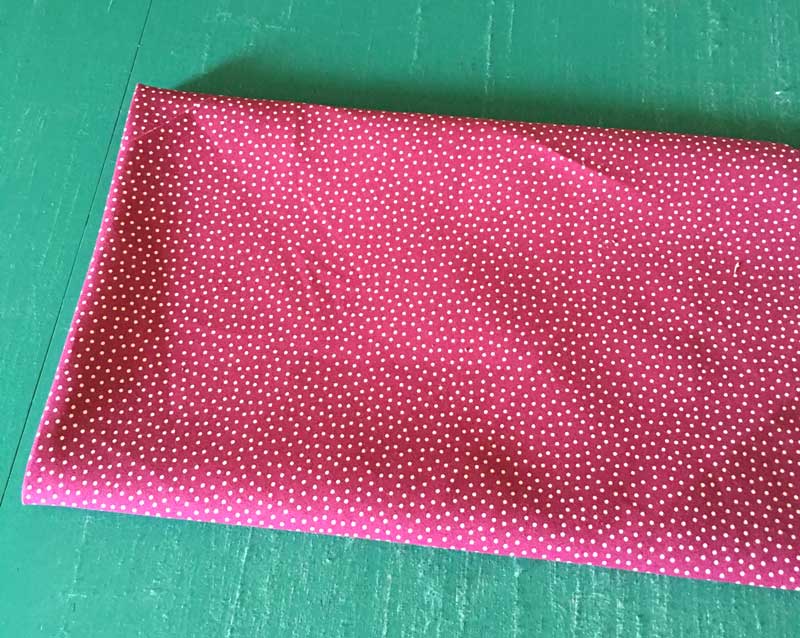
Align the selvages and cut a straight edge on both ends of the fabric - Jen Kingwell's Just A Speck in Lounge Lizard. (Best name for a color. Ever.)
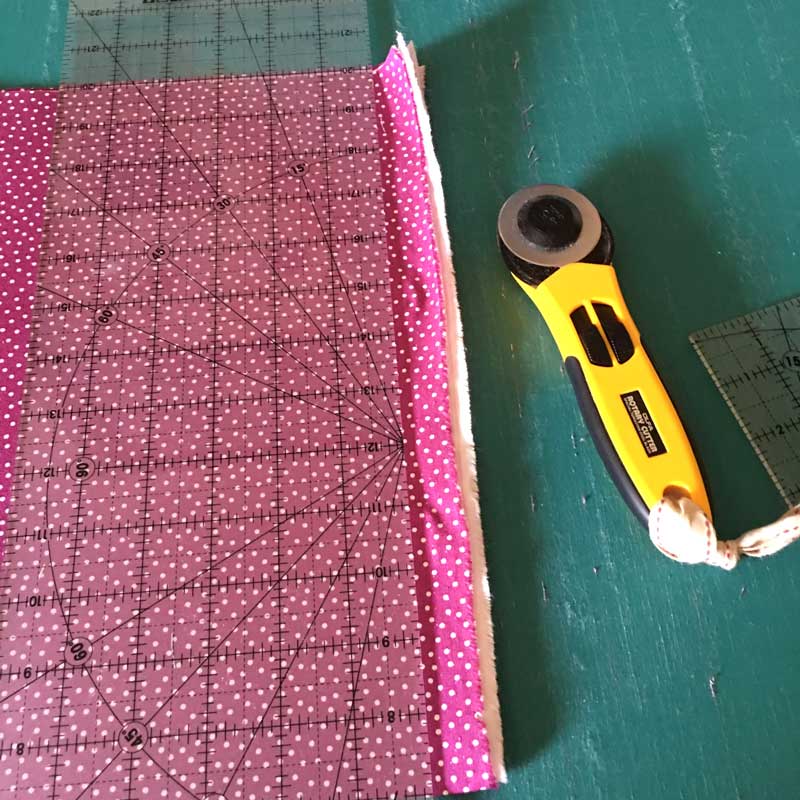
Then trim the selvages - make sure the corners-edges are square and straight. Trim a little or trim a lot, that's up to you. I trim enough to get the selvage and about 1/4" more.
Folding - part 1. This part can seem a bit unwieldy but it only hurts for a moment.
And once you do it a couple of times - even if you're just practicing - you'll get the hang of it and it will go easily. I promise. Just keep the pieces straight and aligned while folding and it's all good. (Trust me, if I can do this, everybody can.)
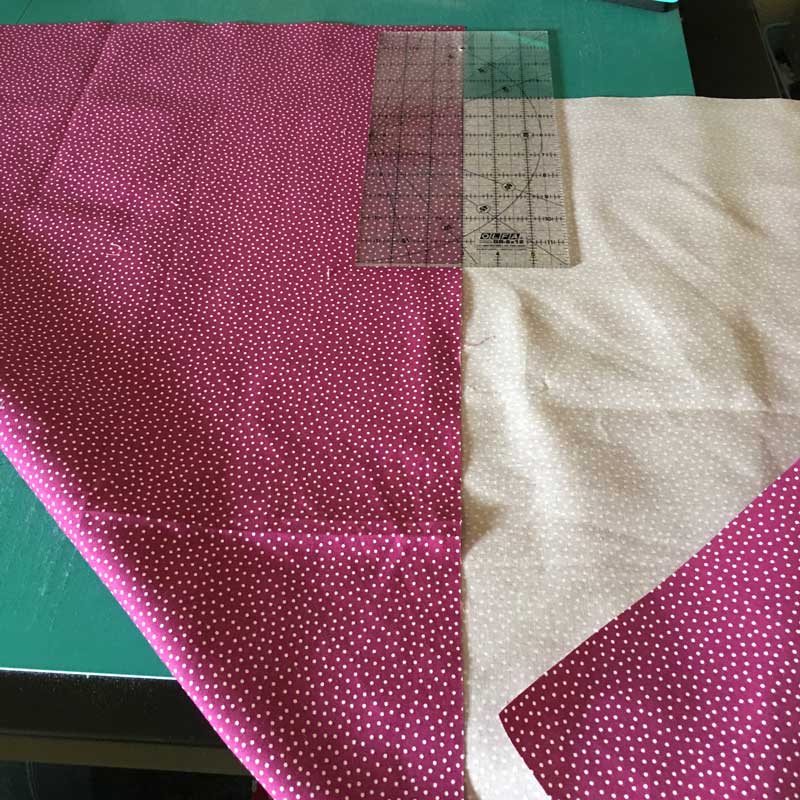
One big fold on a 45-degree angle. Use a ruler to align the edges - those need to be at a 90-degree angle.
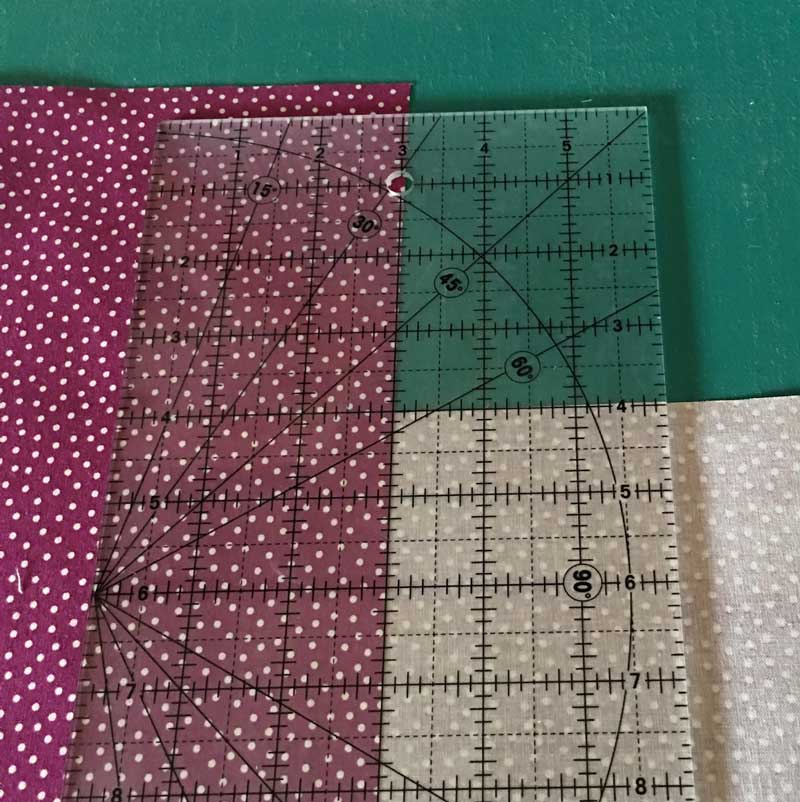
Just so you know, this piece of fabric was cut at 3/4-yard - 27 inches. After straightening the edges and removing the selvages, it measured 25" x 39.5".
Use your fingers to "press" the fold. (This can be pressed with an iron but fingers seem to work for everyone I know who does this fold.)
Folding - part 2. Using the fold as the edge to align, fold the fabric to make the piece smaller.
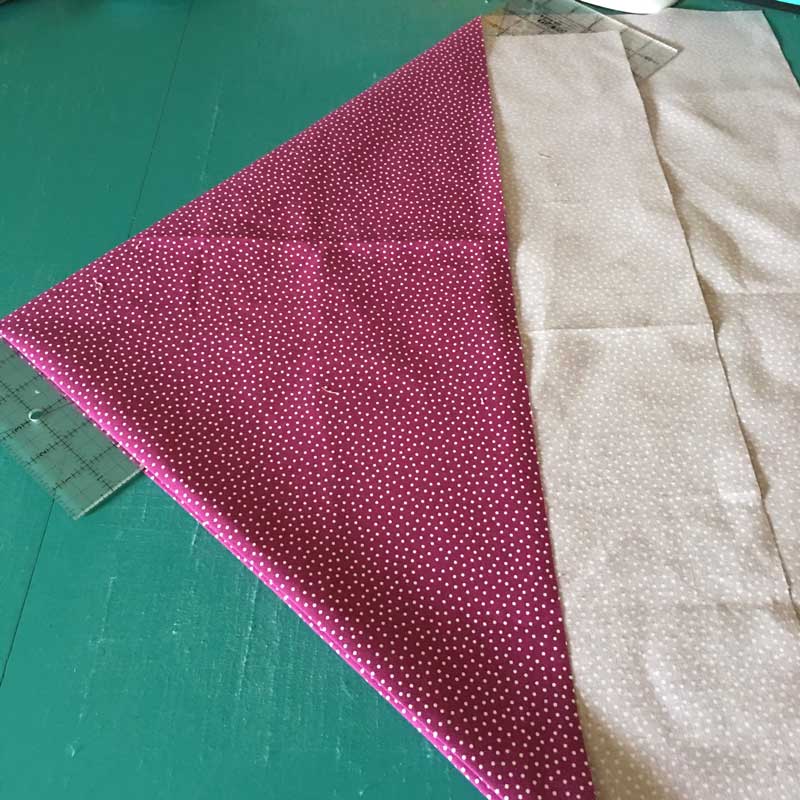
A long ruler can help keep the fabrics smooth and the folds straight.
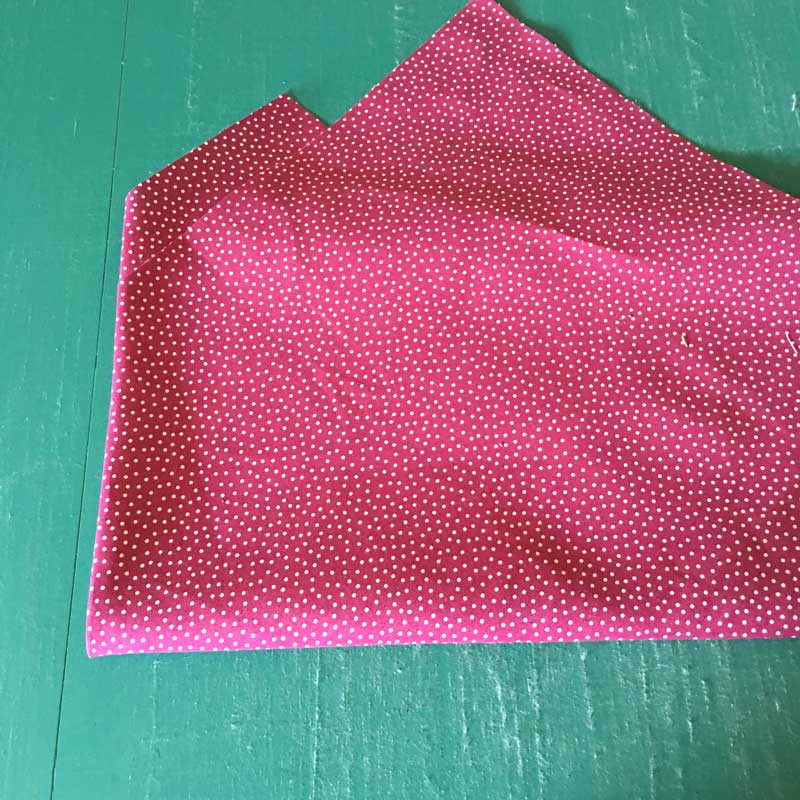
Keep folding until the piece is about 10" to 12" in size. This required two folds - in half, and then in half again - quarters. The loose ends at the top can be tucked under or not.
I like tucking them under because it gives me two reference points for my ruler. Measure the folded piece in a couple of places to make sure it's the same width. If it's not, the folds got a bit loose so refolding is probably a good idea.
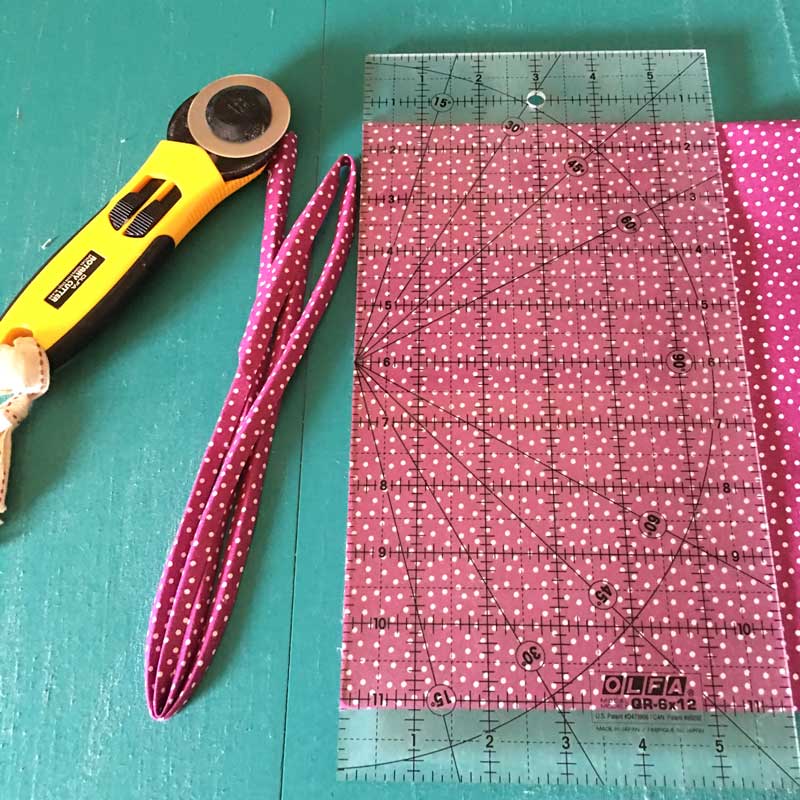
Cut off the fold.
The reference points - they should be very, very close to straight lines on both sides. But I don't worry if they aren't 100% exactly on the line. The top and bottom edges are folded, on the bias and not sharply pressed. This is one of those times when "really close" is close enough for me.
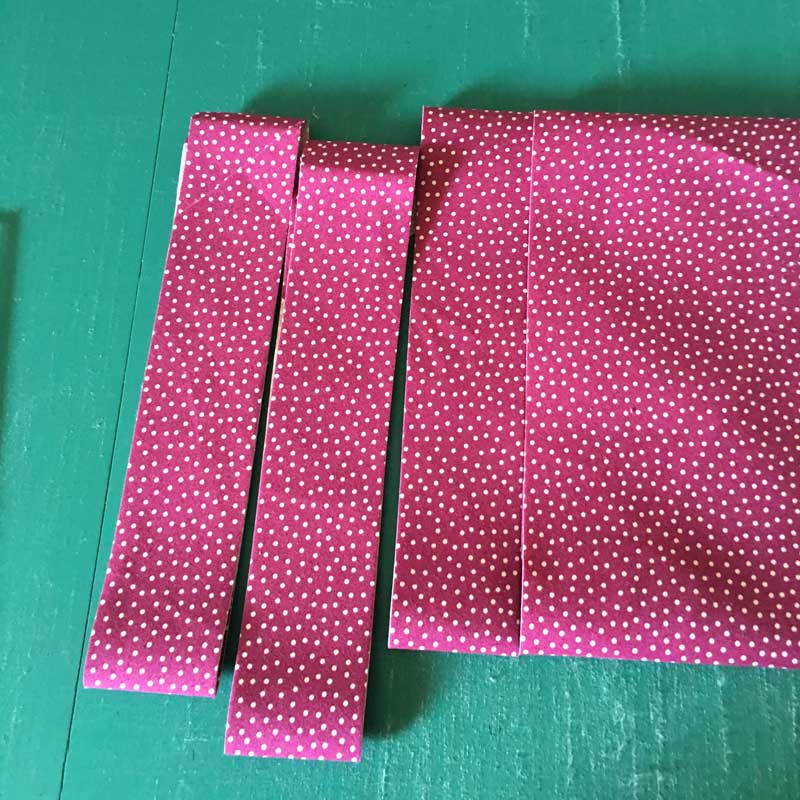
Start cutting binding strips - noodles - to your desired width. (I cut most binding strips at 2" wide for a double-fold binding.) If the fold is good, a straightening cut won't be necessary.
Most of the time, I don't need to cut the entire piece into strips. I'm left with two decent-sized triangles of fabric that I put into the scrap bin. (Or save until I know I have enough length of binding.)
The strips are joined with a scant 1/4" seam allowance and pressed open. (Yes, open. Always.) Then the binding is pressed in half and it's ready to be stitched onto the quilt. (My least favorite part... not that you asked or wondered.)
The second cutting method is much like the continuous binding technique except instead of marking the lines, the big diamond with the seam across the middle is cut into strips. Long, skinny strips that are accurate.
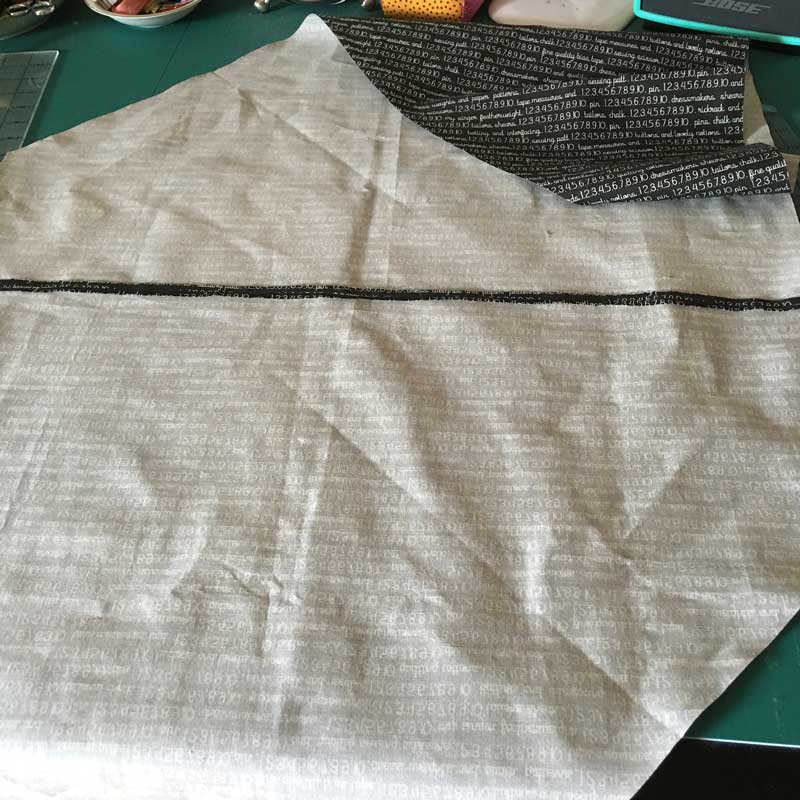
Depending on the size of your diamond, the strips can be cut in a single layer of fabric along one edge. With a big piece like this one - it's the same size as the other - I folded the diamond aligning the edges on one side of the diamond - a bias edge.
When folded, my piece looks very much like the it does for the other method after the fold has been cut off. (I forgot to take a picture at this step.)
As with the first method, cut strips across the folded piece to get a lot of very nice long bias strips - all the same length.
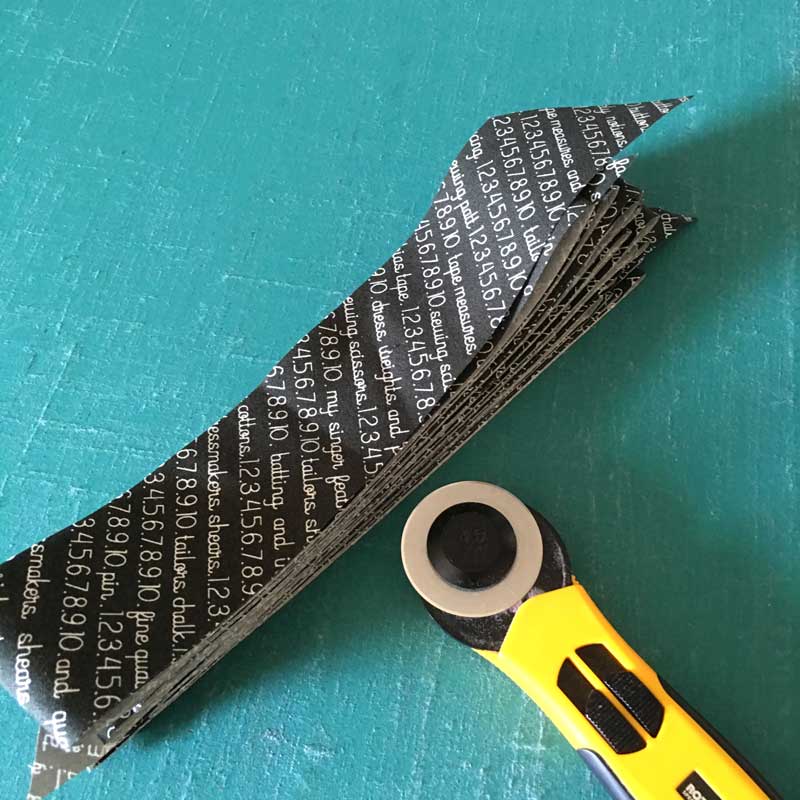
Once cut, the long strips are joined with a scant 1/4" seam allowance and the seams are pressed open.
The one thing to mention with cutting strips this way is that you might wind up with a few of these.
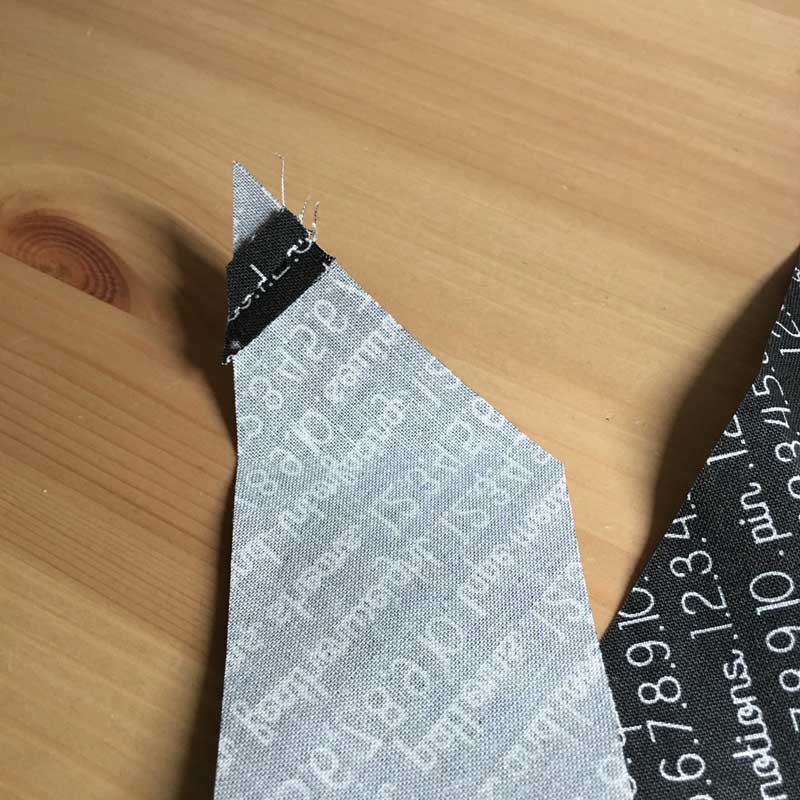
Let the seams fall where they may. It's an easy fix.
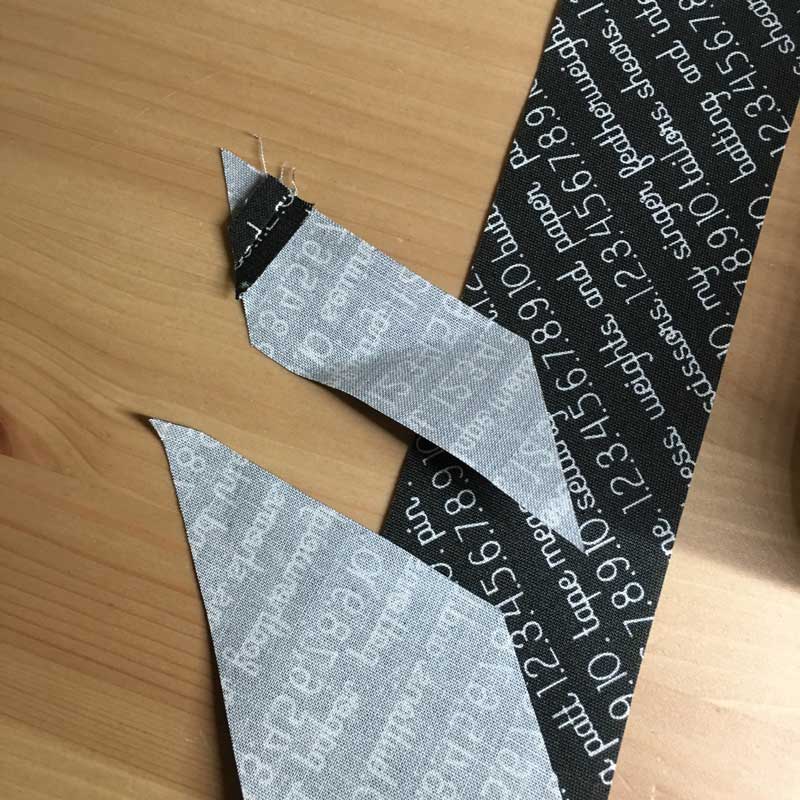
Done. Scissors. They're still good for some tasks.
So is one method better than the other? I don't think so. I think they're just different.
Cons: I can only come up with one tiny thing to quibble about with each. With the first, a couple of strips will probably need to be re-cut at one end because they were on or near the corner of the fabric when they were cut. For the second method, there will probably be several short strips mixed into the finished length of binding. They're a bit harder to eliminate than with sewing the strips together individually.
Pros: I think the first method is a little bit faster. Fold. Cut. Stitch everything at once. Press everything at once. Eliminating the short strips is easily done - if there is enough fabric.
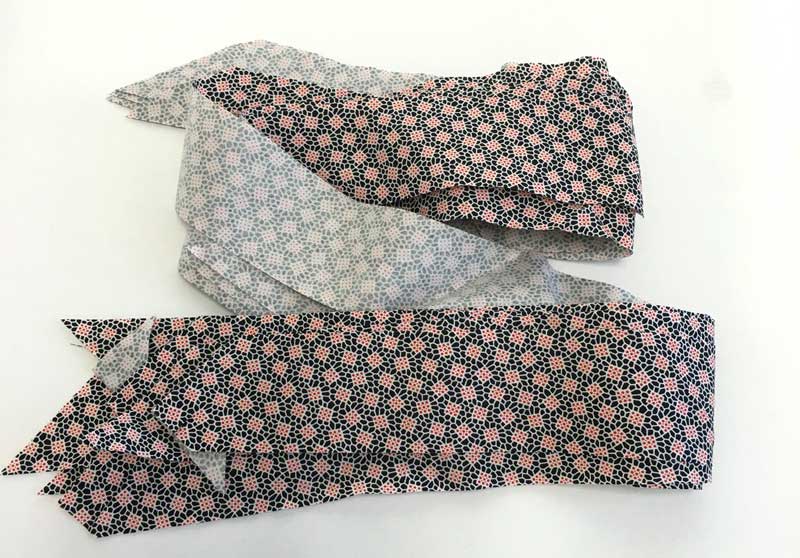
But if you need a lot of binding length and know you'll be using every last inch of the fabric, the second method is better because all the "little pieces" are already sewn in. It also makes keeping a directional like the black text stripe (from Fig Tree's Chestnut Street) going in the same direction a little bit easier.
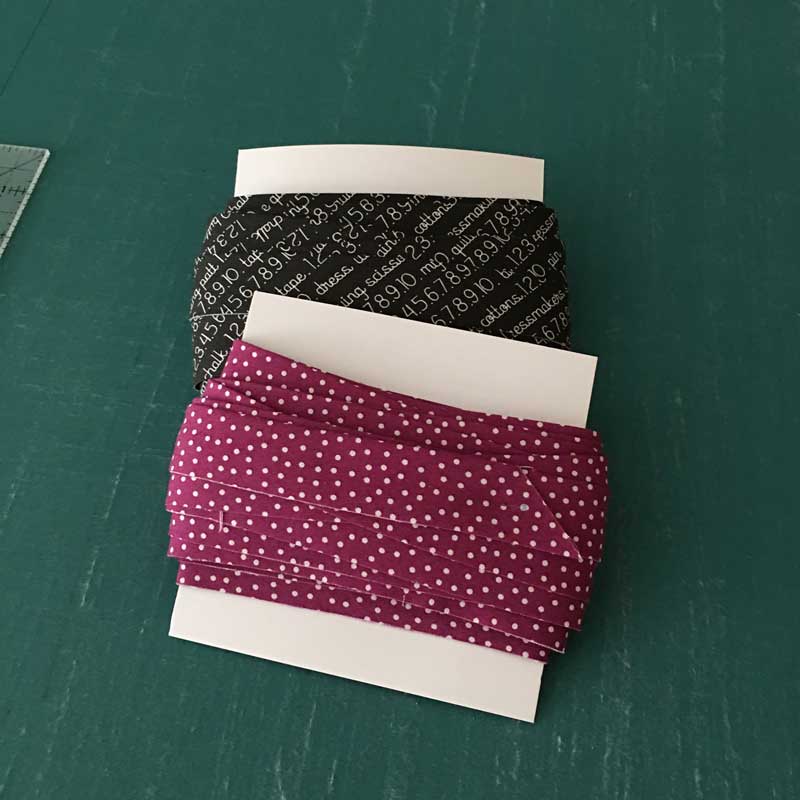
Start to finish, approximately 25 yards of binding, cut, stitched and pressed in about 40 minutes.
I'd still be looking for my scissors using that continuous method.
That's it for today. Have a terrific weekend - I'll be binding a quilt.
Posted in:
Comments