Welcome to Moda Fabrics!
POUCH CLUB: RAINBOW
POUCH CLUB: RAINBOW

Materials Needed:
You will need the following to complete this project:
- 4 Fat Sixteenths for Rainbow
- 1 Fat Quarter Exterior (Crossweave Black shown)
- 1 Fat Quarter Lining
- (1) 12" longer zipper
- 1/3 yard Interfacing (Pellon SF101 or similar)
- Rainbow Pouch Pattern SLF2209
Paper and PDF patterns as well as kits are available in our shop at Sew Lux Fabric or ask your local quilt shop to carry the paper pattern and kit one up for you!
Note: Be sure to check out the video on our YouTube channel linked at the end of this post for additional tips and video to support this tutorial.
Step 1: Piece the Pouch Front
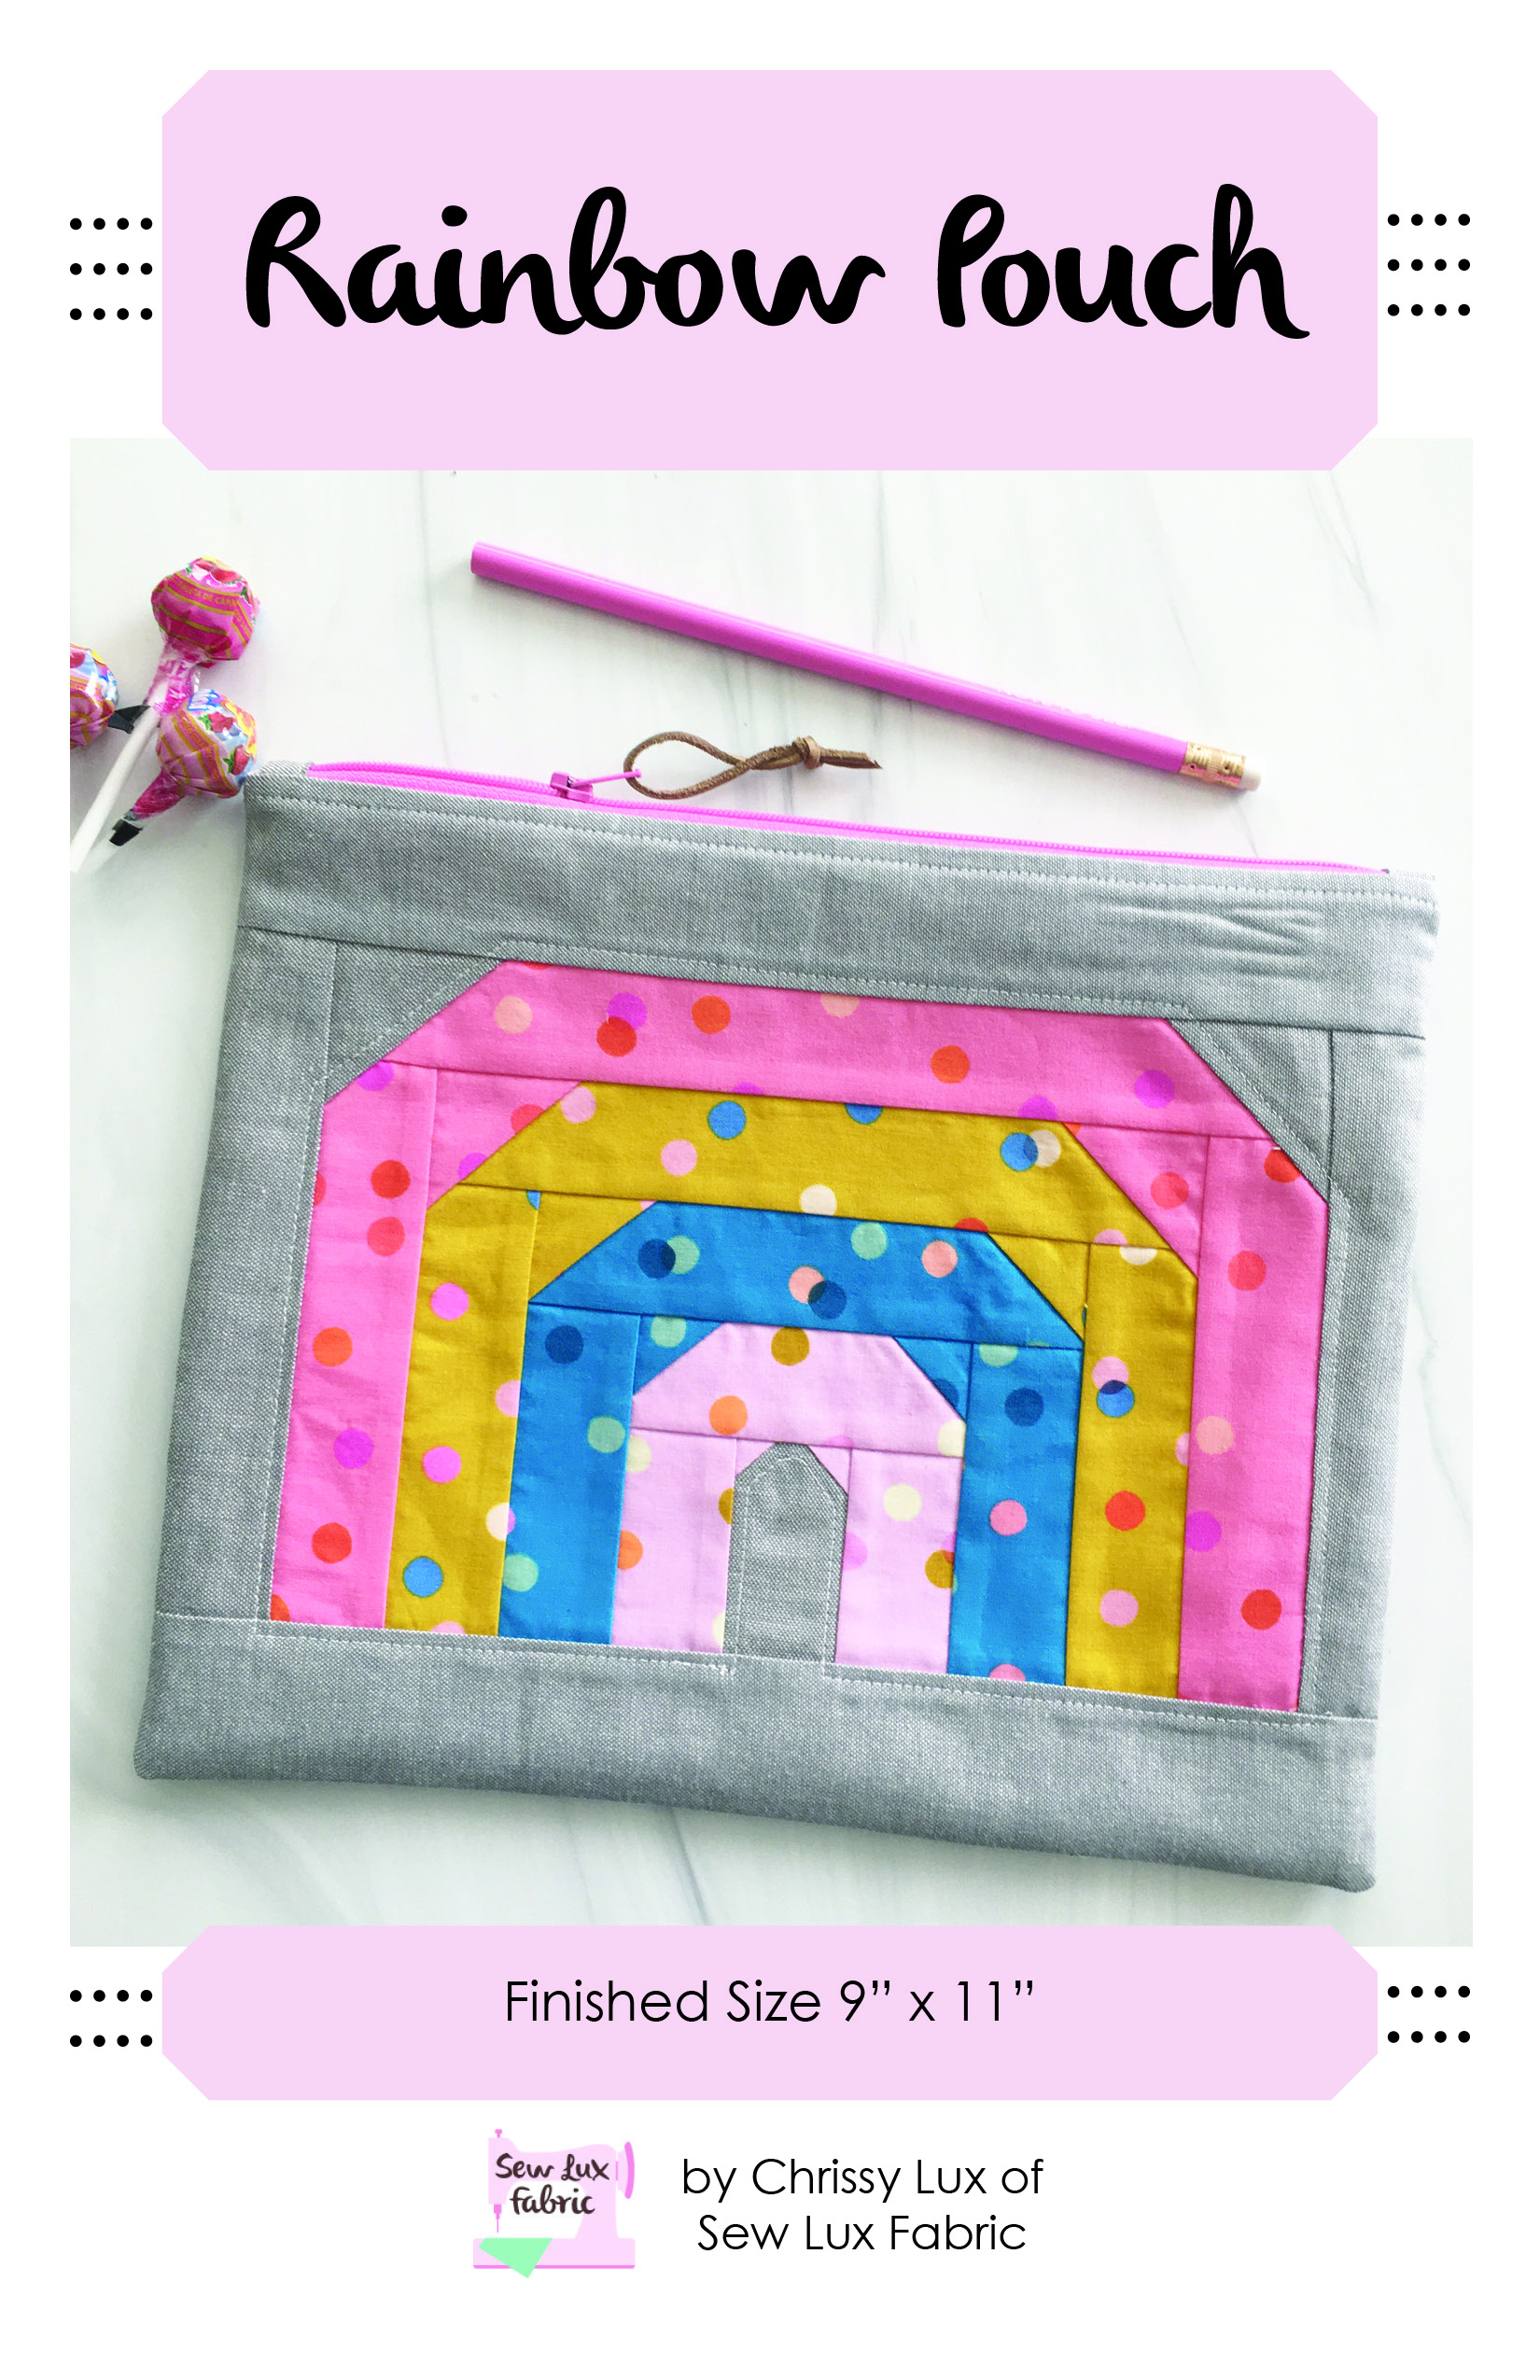
Follow the directions in the pattern to cut the fabrics to size. We’re using prints from Fig Tree Eyelet and Crossweave for this pouch.
The "curve" in the rainbow stripes come together pretty easily using diagonal seams. You'll start by drawing a diagonal line on the wrong side of all the square units.

To sew a diagonal seam: Draw a diagonal line on the wrong side of the square and then sew just inside the line. Press toward the corner and then trim the seam allowance. TIP: When sewing smaller units, pressing seams open can help reduce bulk.
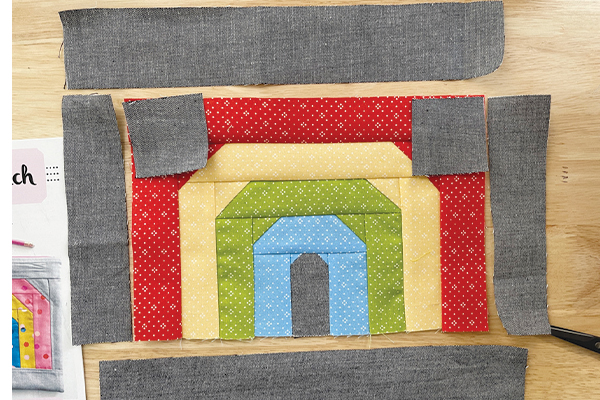
After adding the corners, you'll add the side borders and then finally the top border.

TIP: When I am piecing tiny blocks like this, I will often check my block size after adding corner triangles. If they need trimming to keep everything square, taking the time to do so will lead to a more accurate finished block later.
This pouch front comes together similar to how a log cabin block would, where you keep adding strips to the sides to grow the block.

Continue adding corners, then side and top border in the corresponding color to create each stripe in the rainbow.

Add a total of four stripes of color to complete the rainbow.

Once your top row is attached, you'll add background corners and a border to finish the front.

Once the front pouch panel is made, adhere interfacing to the wrong side of the front and the pouch back as well.

Add any decorative stitching, if you'd like. I topstitched around the outside of the rainbow about 1/8" from the seam.
Step 2: Prepare & Install the Zipper
Follow the directions in the pattern to make and add tabs to the ends of the zipper.

Align the zipper with the top edge of the pouch, centering it and leaving about 1/2" on either side.

Install the zipper using a zipper foot and top stitch the exterior & lining in place. (Refer to video linked below.)

Step 3: Finish the Pouch
Arrange the pouch so that the exterior is RST and the lining pieces are RST. Make sure the zipper is half open and pin or clip in place around all four sides and sew closed, leaving a 3-4" hole in the bottom of the lining.

Turn the pouch right sides out through the hole in the bottom of the lining, press well and close the opening by hand or machine.
Your finished pouch is now ready to use and enjoy!

Our zipper pulls look so cute on this pouch! The red quilt block pull comes in a set of six in assorted colors! (Pouch Club Enamel Zipper Pulls set SKU CL141)
I've added the acrylic spools pull to the version I made in the new Starry prints by Ruby Star Society. (Spools zipper pull from the Pouch Club Acrylic Zipper Pulls set. SKU CL142)

For more details and video of the steps above and some additional tips, check out the video.
Next month, we will be making the Old Glory Pouch, a fan favorite at Sew Lux! See you back here on May 16th for our next installment of the Pouch Club Series.


