Welcome to Moda Fabrics!
Moda String-Along
Moda String-Along
Published:
Dec 14 2018 - 05:00
It started so innocently... a conversation with Jamie and Anna. We were talking about scraps and that led to string quilts. I hadn't made one in years, Anna had never made one but wanted to, and Jamie had made one for her family and wanted to make another. So... maybe an in-office sewing day after Christmas?

Was anybody else interested? Tammy was in - she's made string quilts before. Lissa too - also an experienced string-er. Joy? Absolutely - and she's a two-fer because could bring her daughter Winnie! Brittany? Count her in - she's a new quilter and she thought it sounded like fun. Susan? She'll be there. Chelair, Eladia, Mariza and Kathy? All yes's.
So who else might be interested? Some of the Moda designers are stringing with us. What about you?
Here are the important dates:
- Today - an introduction to string quilts, what you'll need, a few options and how to be ready to start stringing after Christmas.
- Friday - December 28. Our sewing day - and the start of the sewing weekend.
- Friday - January 4. Checking in - a progress report.
- Monday - January 7. Block report - how many did you get done?
We'll check in after that but there are so many other things coming in January and February that we'll put the strings on the back-burner for a little while.

Supplies needed:
- Fabric. Strips, strings, random pieces, scraps, odds and ends and everything in between. A "string" is a piece of fabric that can be anywhere from 3/4" wide to 2". And the strings don't have to be straight - wedge-shapes work too. Jelly Rolls? Those will work too - right off the roll or cut into narrower strips.
- Foundation - paper or muslin. The choice is yours - see below for more information on that.
- An iron or pressing tool - pressing after each strip is necessary.
- Optional - A rotary cutter and ruler for trimming seams - more on that in a minute too.
- A sewing machine.
Before you start, think about the size of your finished string blocks. A popular size is 8" finished which means starting with a 9" foundation square. Yes, add at least 1" to the desired finished size because the completed string blocks are trimmed to a consistent size. Adding 1" allows a 1/2" for the seam allowances, and a 1/2" leeway for trimming - and the foundation can shrink a bit during piecing.

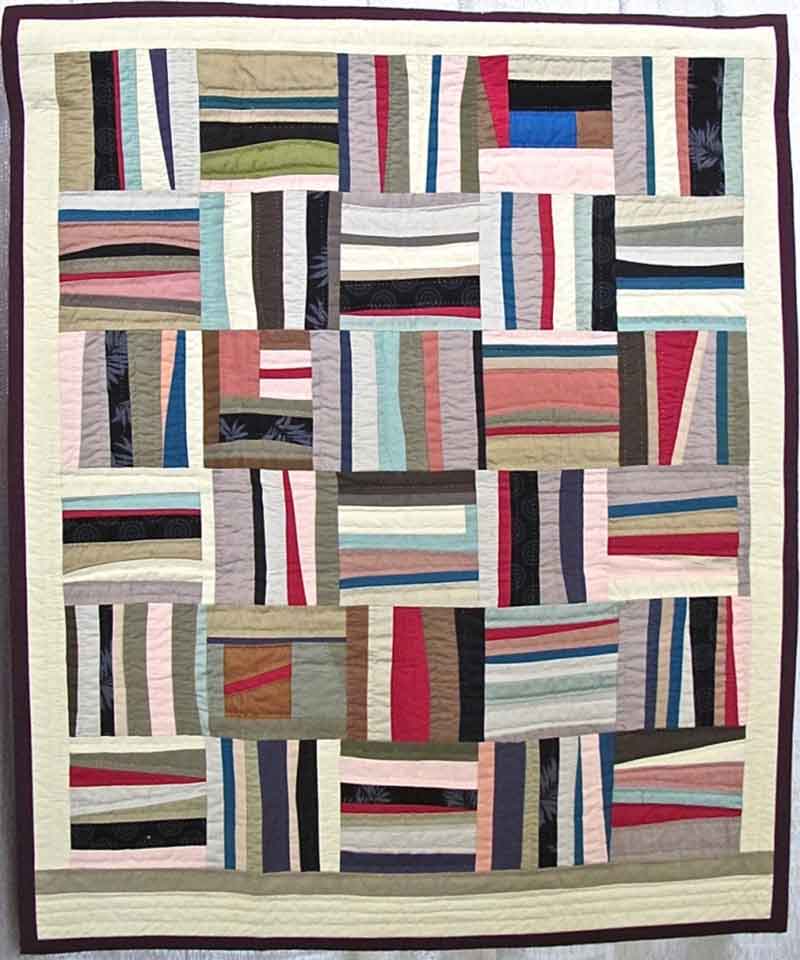
This is one of my favorite antique string quilts. It's a basic string block - but the skinny strings and the "straight furrows" setting makes this one a bit different.
Foundation - fabric vs. paper. Why a foundation? It makes the piecing easier, and it's an easy guideline for making blocks the same size.
- Fabric - muslin or a solid. Pros - it's easily available, can be cut to size and doesn't need to be removed. Cons - it adds an extra layer of fabric to the quilt, adding to the overall weight of it.
- Paper - newsprint or copy paper. Pros - it's also easily available, can be cut to size and won't add weight to the finished quilt. Cons - the paper has to be removed. And since most easily available paper is 8.5" x 11", there probably is a limit to the block size.
Paper options. Many people use the paper from old phone books. It's free, it's a good size - at least 9" x 11", it stitches easily and because it's thin, it's easily removed. Make sure you use the oldest phone book you have because the ink has "cured" and won't smear. Do not use heavily colored pages, or newspapers as that ink can - and often will - transfer to the fabric.
String size. Some of the strings-strips need to be long - long enough to cross the foundation diagonally. Short strings-strips can be used on the sides. And yes, you can piece two strips and use that for a single string-strip. Just join the strips, press the seams open and string it!
Me? I like paper foundation. And since I haven't had a phone book in more than five years, I bought a ream of newsprint paper from the art supply store for about $7.00. I trimmed the sheets to 9" x 9".
Stitches - Needles - Thread. Thread - a 40wt. or 50wt. is ideal. For the stitch-length and sewing machine needle size, that depends somewhat on the foundation you're using.
- Fabric foundation. Use the same thread, sewing machine needle size and stitch-length combination as you do for "regular" sewing. n
- Paper foundation. Shorten the stitch length a bit - to at least 14 to 16 stitches to the inch - about 1.75 on many machines. The shorter stitch will perforate the paper, making it easier to remove. For the needle size, opinions vary. I use an 80/12 needle in my machine but others prefer a 90/14. Experiment with the different sizes, especially as the paper you use will affect the results.
How to start.
- Trim the paper or foundation to size.
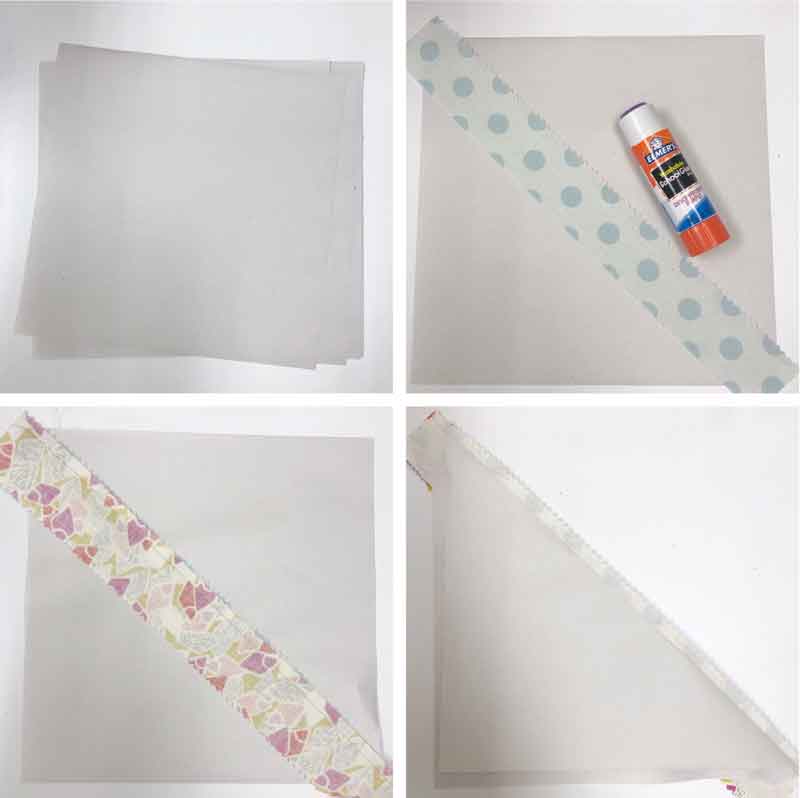
- Lay 1 string-strip across the foundation - right side up. Pin to secure or use a bit of washable glue.
- Lay a second string-strip on top of the first strip with right sides together. Stitch along one edge with a scant 1/4" seam allowance.
- Make sure the strips extend past the edge of the foundation - covering the muslin-paper is the key.
- Optional - Fold back the paper and trim the seam.
Note: I like trimming the seam for two reasons. First, I like using strips right out of the scrap basket so I can vary the width of strips with placement instead of trimming before I stitch. Second, I can also angle the strips, making them wider at one end. I lay the top string-strip on top of the bottom strip and use the edge as my stitching guide. I then use an Add-a-Quarter ruler to trim the seam allowance to a scant 1/4".

Continue adding strips to complete one half. Layer - stitch - press - layer - stitch - press - and so on.
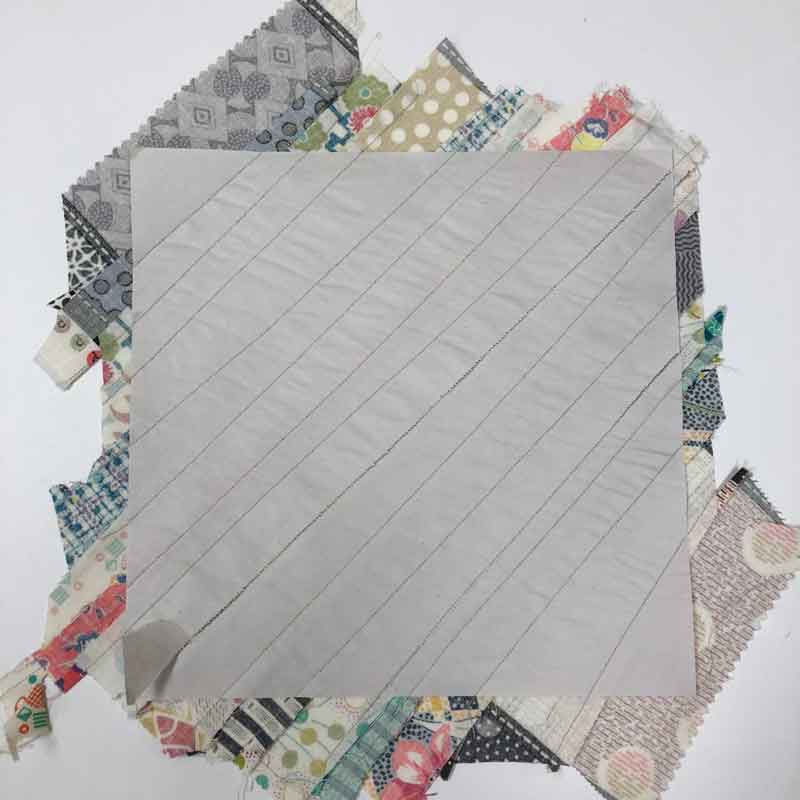
When the foundation is complete, it will look something like this. Give it a good pressing.
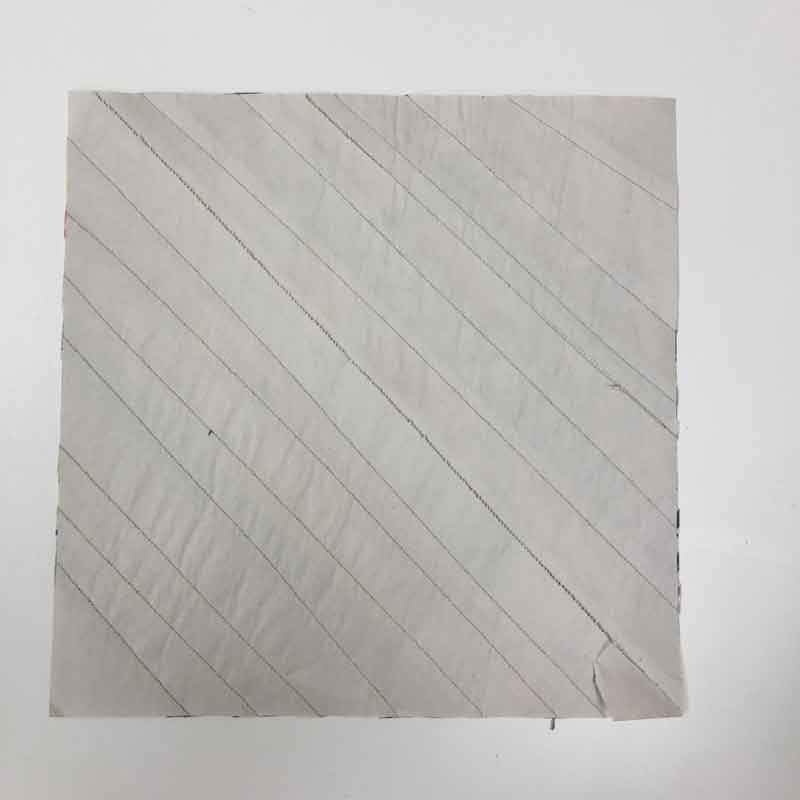
At this point, I like to trim to the edges of the foundation - but not to the cut-trimmed size of the block. (That will be 8-1/2" x 8-1/2".)

My preferred method is to complete all my planned blocks before the final trimming step. Then the blocks are lightly starched and pressed. Not everybody agrees but I like removing the paper at this point. The block has been stabilized by the starch so when the paper is removed, I press it again. Then the blocks are trimmed to size and... whatever comes next.
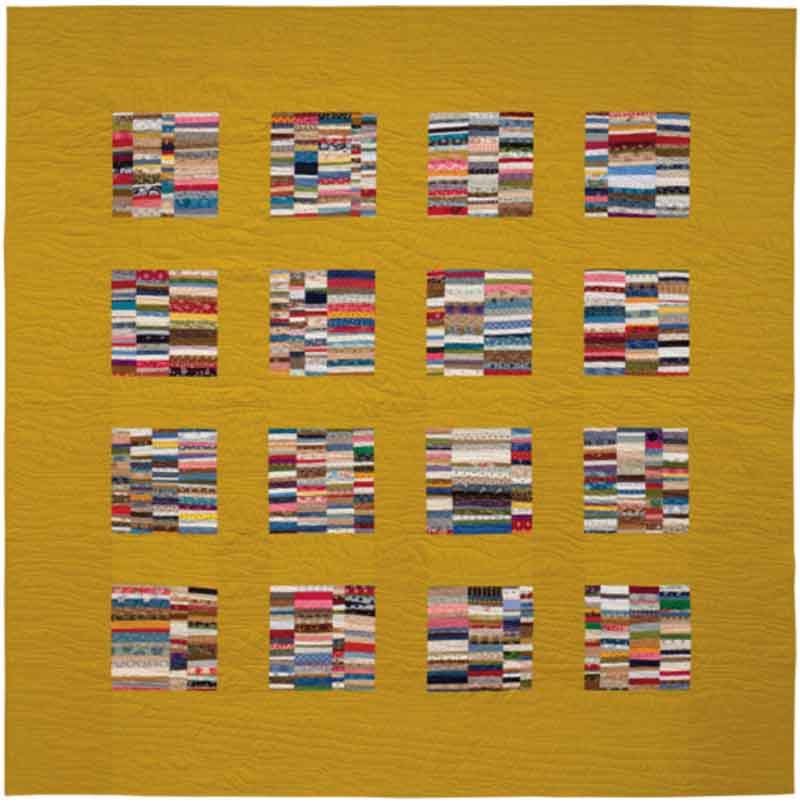
Assemble the blocks to complete the quilt top, or use the string blocks as the "fabric" to make other units. There are a lot of options.
While there are dozens of great tutorials available, these are the two that always come to mind first for me:
- Sherri McConnell of A Quilting Life - String Block Tutorial
- Amanda Jean Nyberg of Crazy Mom Quilts - Biased Quilt Block Tutorial
There are also several books about string quilts.
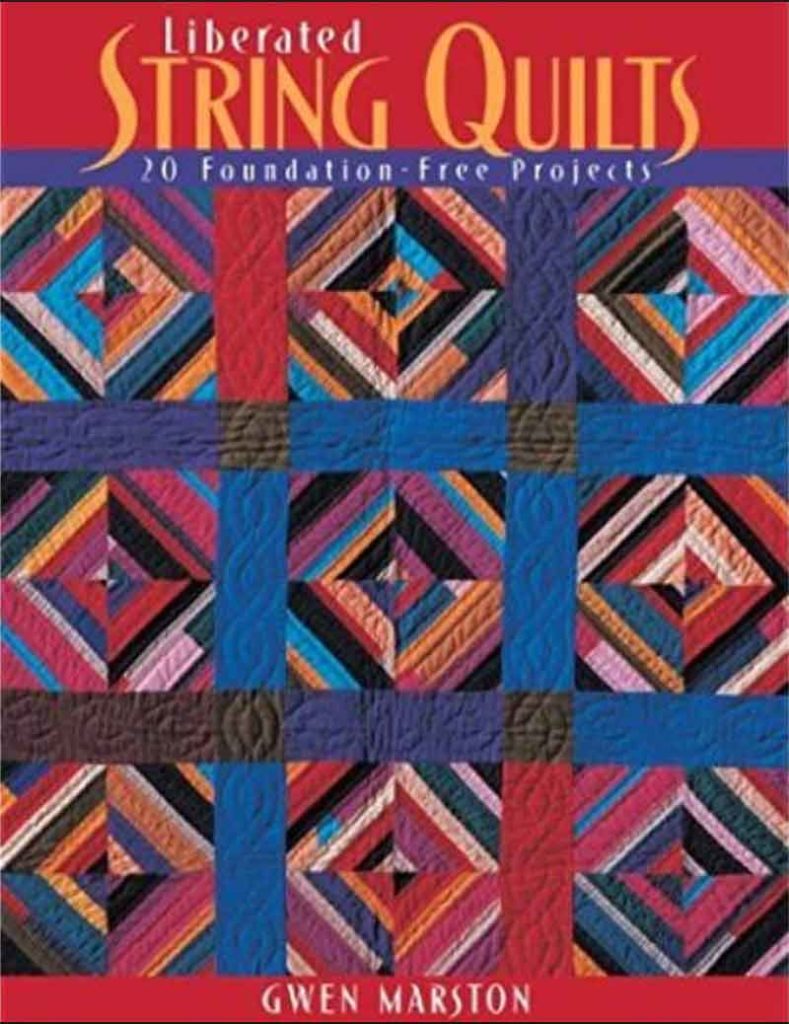
Liberated String Quilts by Gwen Marston. Published in 2010, this book is out-of-print and available only from used-book sources or your local library.
Gwen includes some history, lots of technique and inspiration, and ideas on how to use string blocks.
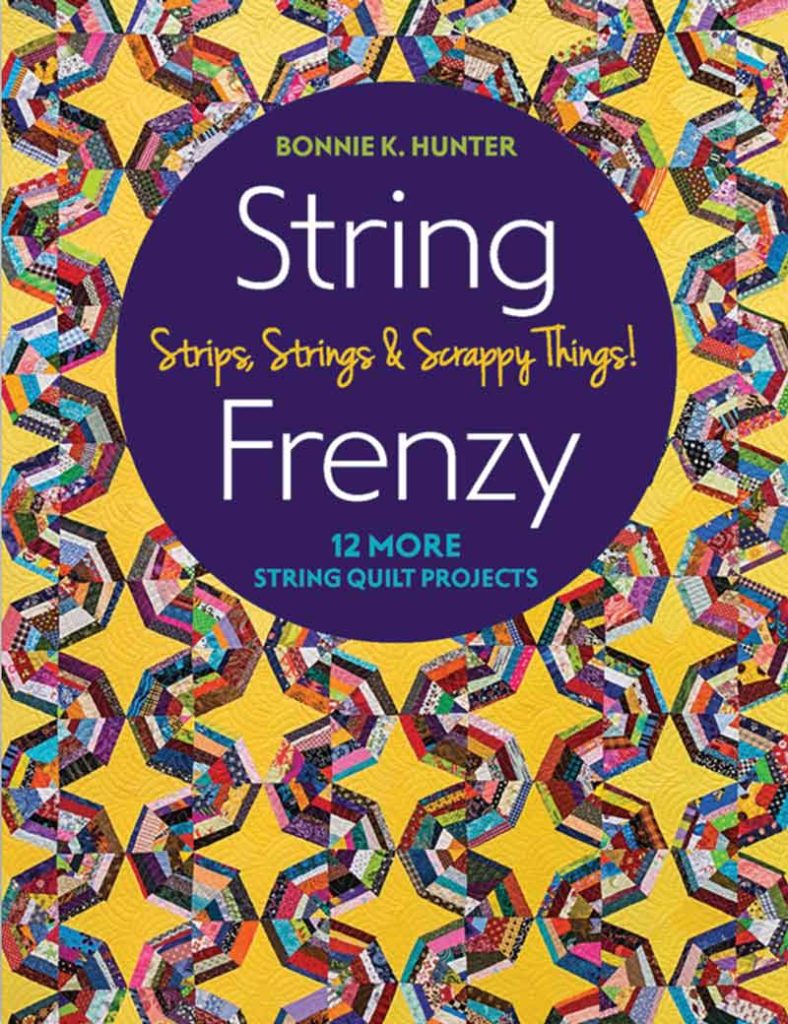
String Frenzy by Bonnie Hunter is readily available and it is also filled with instructions on making string blocks, and ideas for what to make with those blocks. Bonnie frequently uses her string blocks as the "fabric" to make other units.
So all you need to get started are some scraps... can you tell we've been planning?

We have Porcelain by 3 Sisters.

And Day In Paris by Zen Chic.
The challenge will be deciding which one to use. First.
That's it for today! Mark your calendar for Friday, December 28. Get your sewing machine ready and bobbins wound. And get out your scraps - strings.
Posted in:
Comments