Welcome to Moda Fabrics!
Blockheads ~ Block 6
Blockheads ~ Block 6
Published:
Apr 11 2017 - 23:10
Happy Blockheads Wednesday!
It's Week 6 - The Cutting Table's week to share a block.
If you're new to the Blockheads - this is a Block of the Week sew-along with forty-eight blocks shared by five Moda fabric designers and me, the Moda blogger. Each week, one of us provides the link to a free block pattern. You have to go to that designer's blog to get that link, but if you read all six blogs, you'll see what each of us has done with that block. We also share tips and answer a weekly question related to quilting.
The order of the designers will always be the same ~ it was the only way we could remember when it was our turn. If you've missed any of the first five blocks, here are the blog posts with the link:
- Lynne Hagmeier of Kansas Troubles ~ Block 1
- Betsy Chutchian ~ Block 2
- Jo Morton ~ Block 3
- Jan Patek ~ Block 4
- Lisa Bongean of Primitive Gatherings ~ Block 5
A few of the designers are also sharing a few little extras... lagniappe.
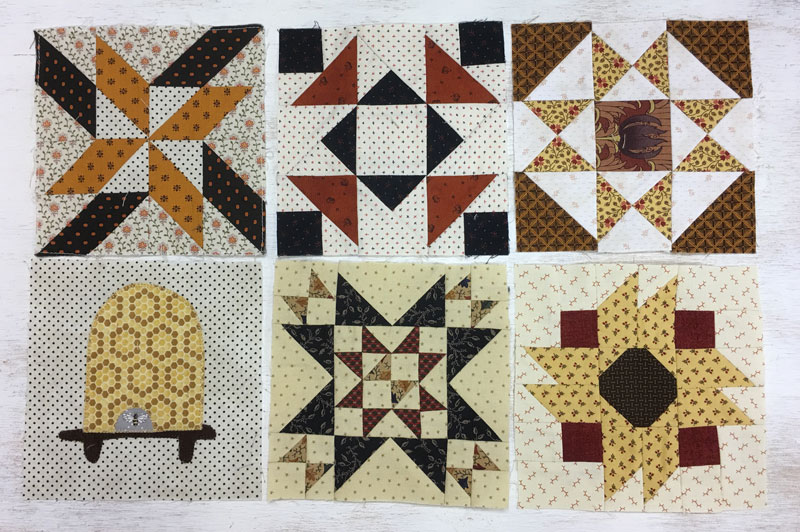
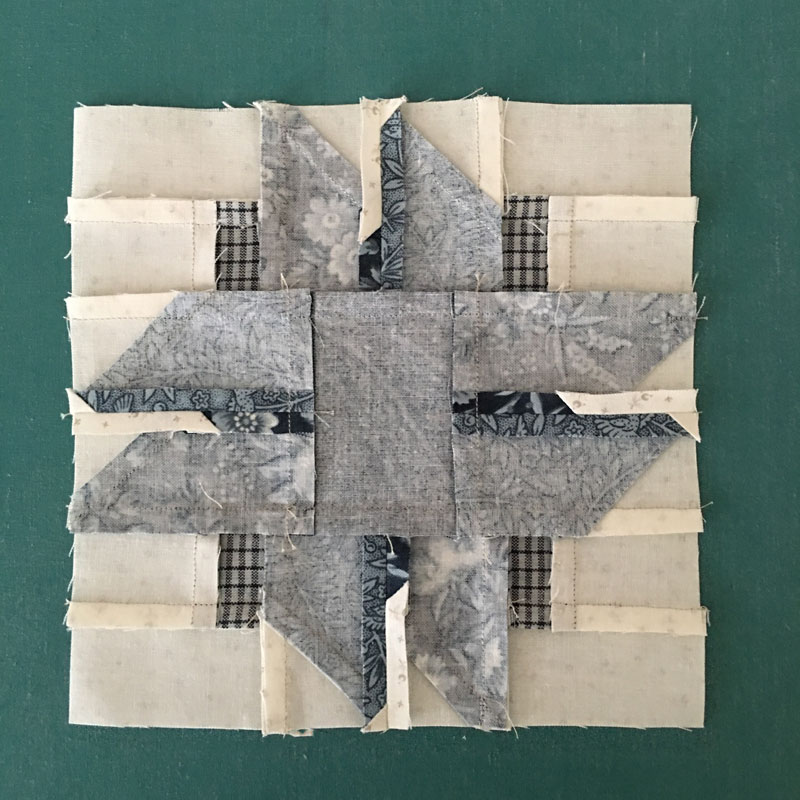
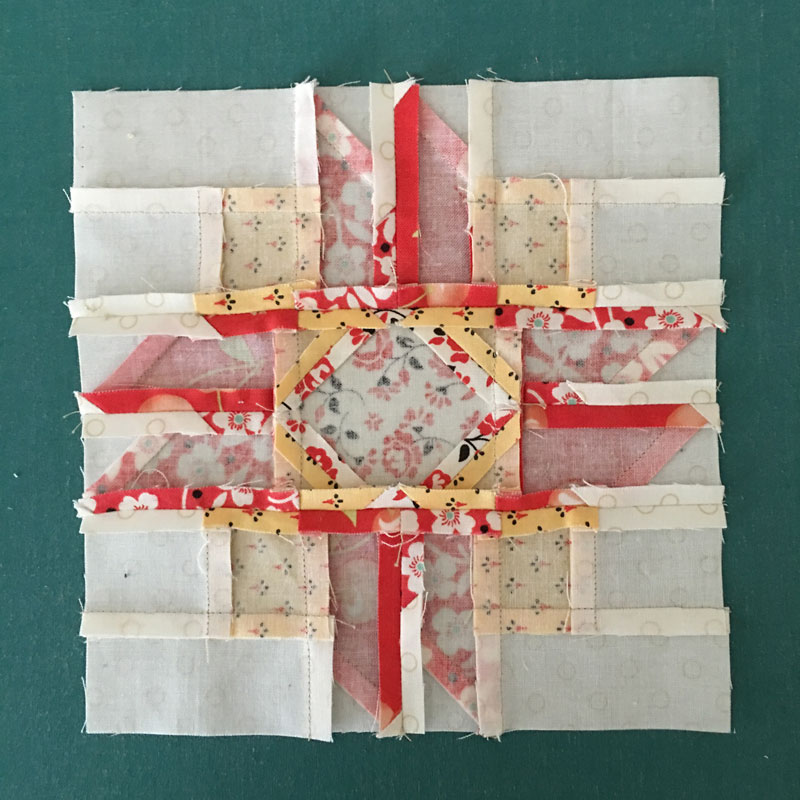
These are Tammy's first six blocks. Don't you love the Fall palette she's using?
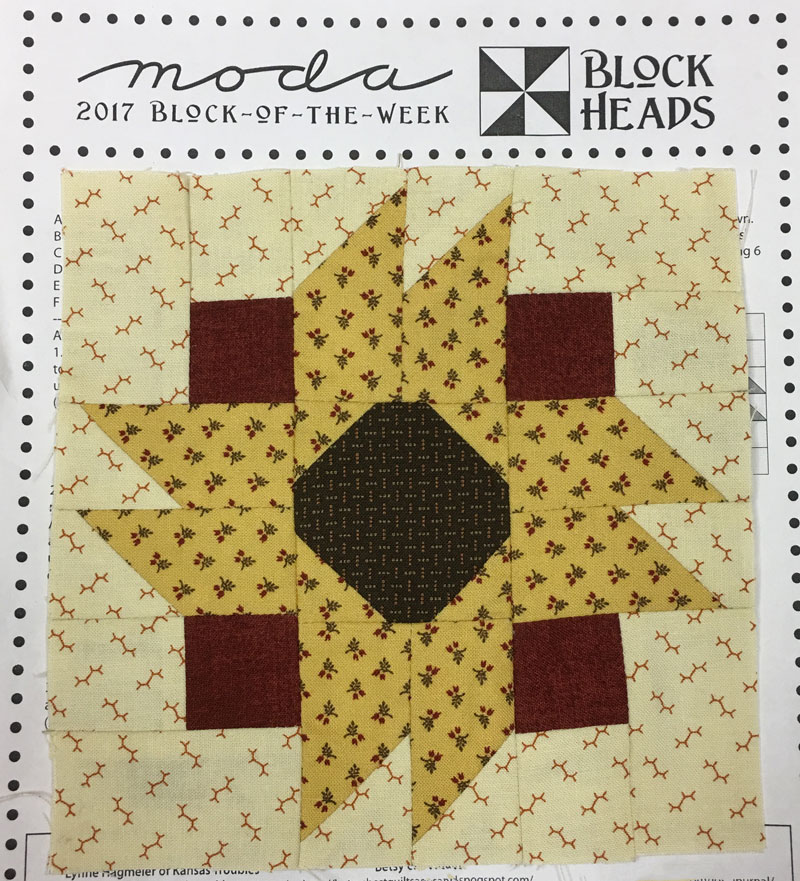
Block 6 ~ the Sunflower! This probably should be Lynne's block since she is a Kansas girl and the Sunflower is the Kansas State Flower but when she didn't choose it, I jumped on it. That's the benefit of being the last to pick, and getting to see which blocks everyone else had selected. If you're wondering, each of us submitted blocks that were our favorites, either blocks we'd used frequently, blocks we'd designed or blocks we loved. (Block books were consulted... at least by me.)
This is Tammy's Sunflower block.
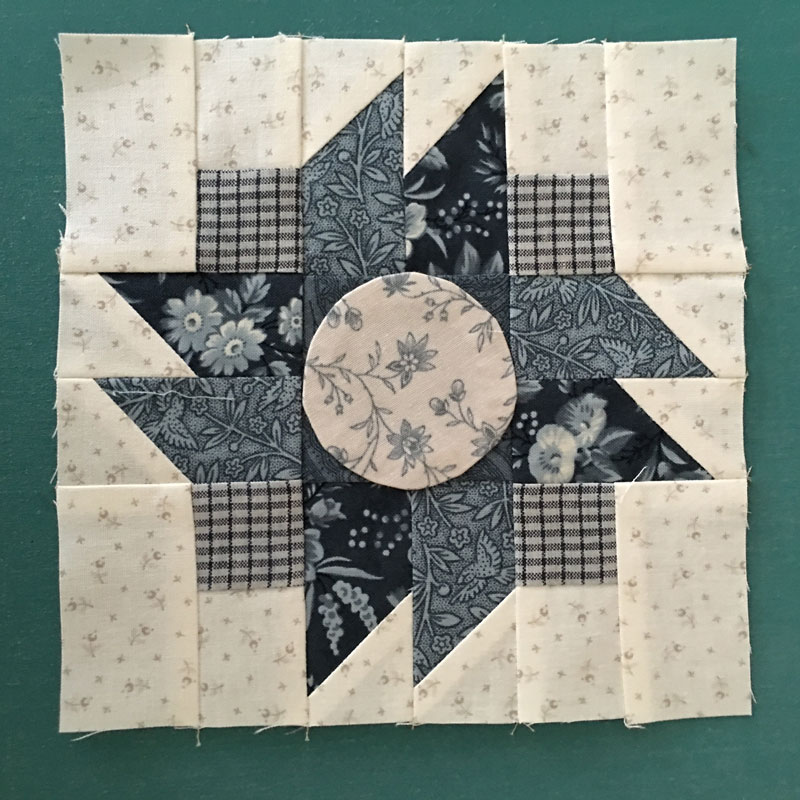
Since she doesn't love appliqué, she cleverly changed the center to be a snowball.
I write "cleverly" because I had the same idea. Since I am making two sets of blocks, I decided to appliqué one block and "cheat" on the second block with a snowball-ish center square.
I think I'll be switching out the center of this one since it mooshes just a bit. I know... black would have been the most like a real sunflower but sometimes I'm a little slow and need to do things more than once.
If you'd like to make a snowball center square - cut one center square at 2-1/2" x 2-1/2" and the four corner squares at 1-1/4" x 1-1/4". Stitch across the square and presto! A snowball center square.
For the connector corners - aka flip-and-sew or folded corners - there are a couple of methods to use. The block instructions include the simplest method of cutting a square that is laid on one end right-sides-together. Stitch across the square, trim the seam, press and you're done. I love this method for small squares, or for when I only need of few of these corners. But when I have to make eight... I'm going to use a ruler designed for this kind of corner.
Just so you know, the pattern instructions were written so you didn't need any specific rulers or tools.
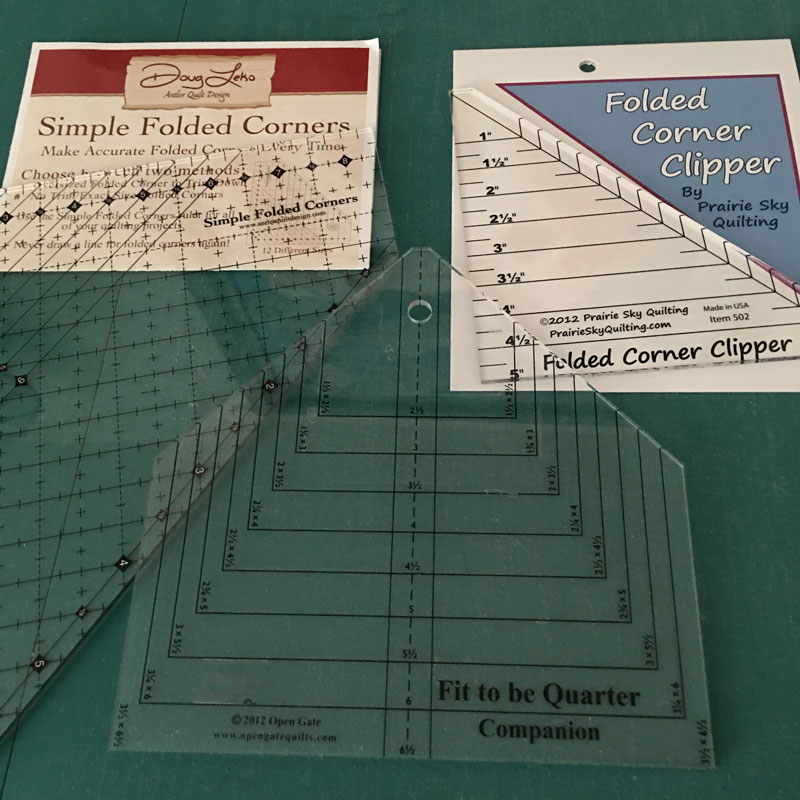
Clockwise from the upper left -
- Simple Folded Corners by Doug Leko of Antler Quilt Designs
- Folded Corner Clipper by Prairie Sky Quilting
- Fit to be Quarter Ruler & Companion by Open Gate Quilts
The Simple Folded Corner ruler is new and it allows for piecing the corners exactly to size or piecing them over-sized so they can be trimmed square. The Folded Corner Clipper is for piecing to size with squares. The Fit to be Quarter is for making the pieces over-sized and trimming them square.
I have used the Fit to be Quarter ruler since it came out many years ago - it's one of my favorite rulers because of its versatility.
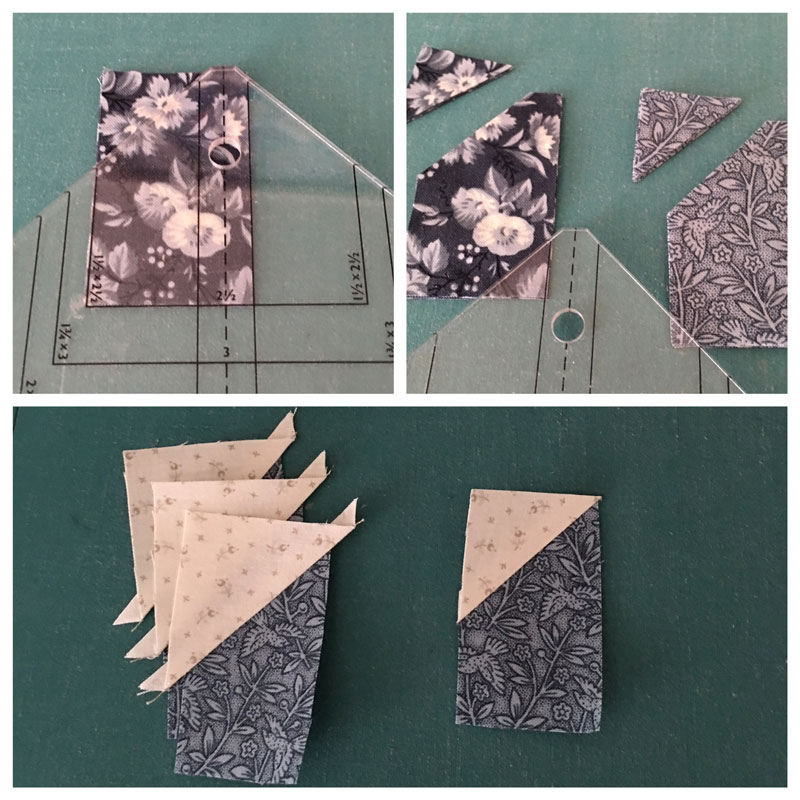
If you stack your pieces as I do, make sure each piece is facing up! The "corners" are cut as over-sized squares that are cut in half diagonally. After the triangles are sewn to the trimmed side of the rectangle, the rectangle is squared-up to the original cut size. Easy peasy, right?
If you make a lot of these types of corners, I highly recommend getting one of these rulers. I'm absolutely certain that you won't regret it.
Since I know "some" of you are here only for the block pattern... BLOCK 6 ~ SUNFLOWER BLOCK.
About that appliqué center, a template cut from freezer paper, template plastic or cardboard works beautifully. But if you make a lot of appliqué circles or simply love highly useful tools, I also recommend Karen Kay Buckley's Perfect Circles.
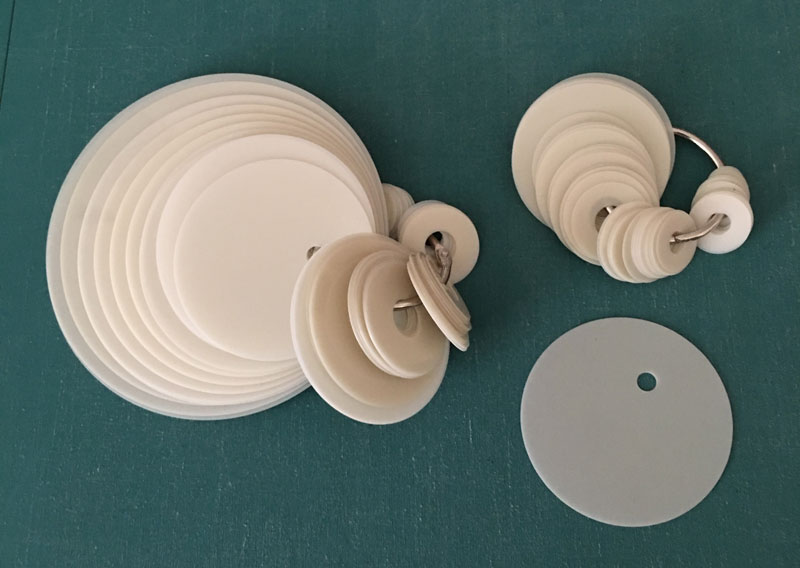
They come in two sizes - Bigger Perfect Circles and Perfect Circles. The Bigger Perfect Circles range in size from 2-1/4" to 4-1/2". The Perfect Circles range in size from less than 1/2" to 2". They're made of heat-resistant plastic so the circles can be pressed with the template inside.
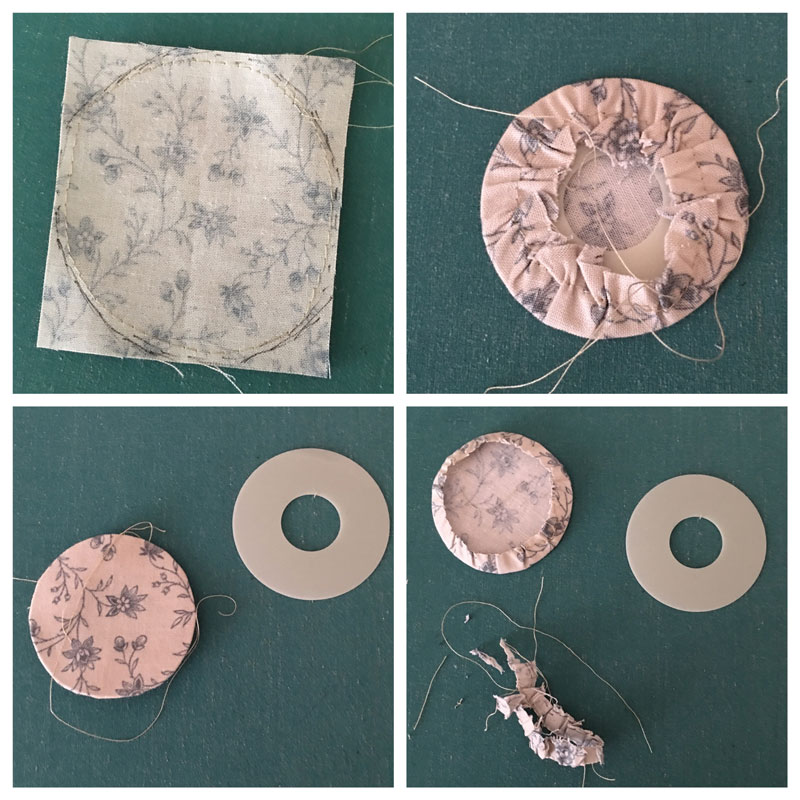
Okay... so I cut my square a little too big. I drew a rough-circle approximately 1/4" away from the template and stitched a gathering-length stitch just inside the line. The thread is then pulled to gather the circle with the template inside. Press. Because I goofed, I then trimmed the excess, leaving a 1/4" seam allowance.
The circle is then appliquéd to the center of the block by hand or machine.
Week 6 ~ Question of the Week: Pressing - to one side or open?
Both.
It really depends on the block, the fabric and what else might be going on. As in, sometimes the pieces simply don't want to cooperate so I press them into submission by pressing them open.
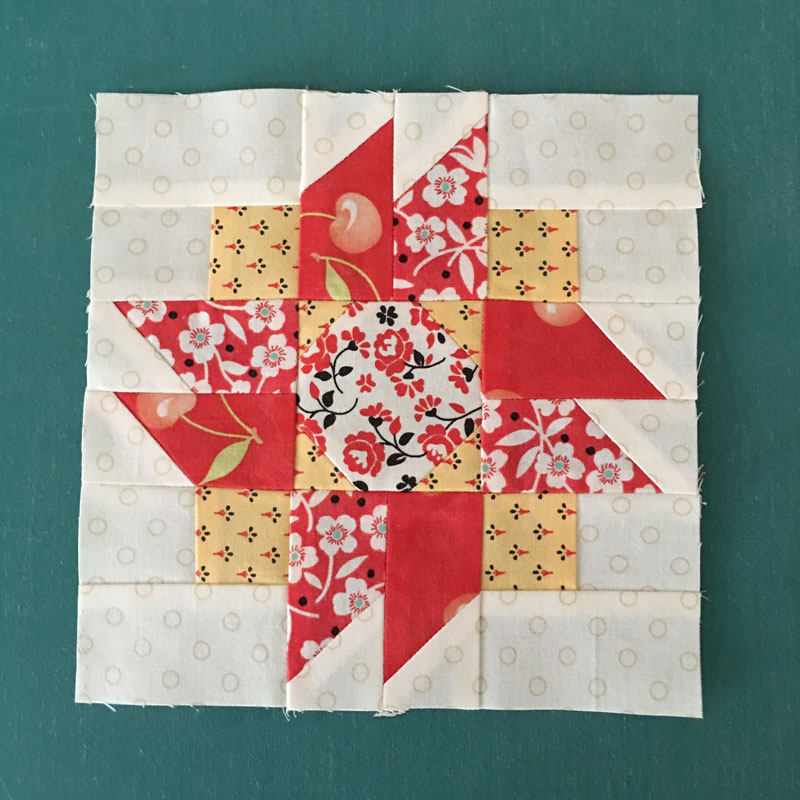
For this Sunflower block, I found that pressing the seam between the two "petals" worked best pressed open. The rest of the seams were pressed to one side.
But just to see if there was any difference...
Honestly, there wasn't any noticeable difference in how the block laid, or how it looked, with these middle seams pressed open.
But for a block with a lot of teeny tiny pieces - ahem... Coronation Star - pressing almost all of the seams open made a big difference.

While many of us - at least we quilting "old-timers" - learned that seams were always always always pressed to one side, the rules-reasons for that don't really apply any longer. Our fabric, thread and batting are all better, and most of us piece by machine with smaller stitches. But there are a couple of things to keep in mind when deciding whether to press seams open.
Machine quilting - if you are going to stitch your quilt top in-the-ditch, pressing seams open can be a problem. While it doesn't happen often, there are times when the needle of the machine will pierce and break the thread of the seam, resulting in a split. This can be repaired but it is time-consuming and it usually shows. Hand-quilting - if you are going to hand-quilt your finished top along the seam lines, pressing to one side may be preferable. Since I don't have much experience with hand-quilting, I'll happily defer to those with differing opinions about this.
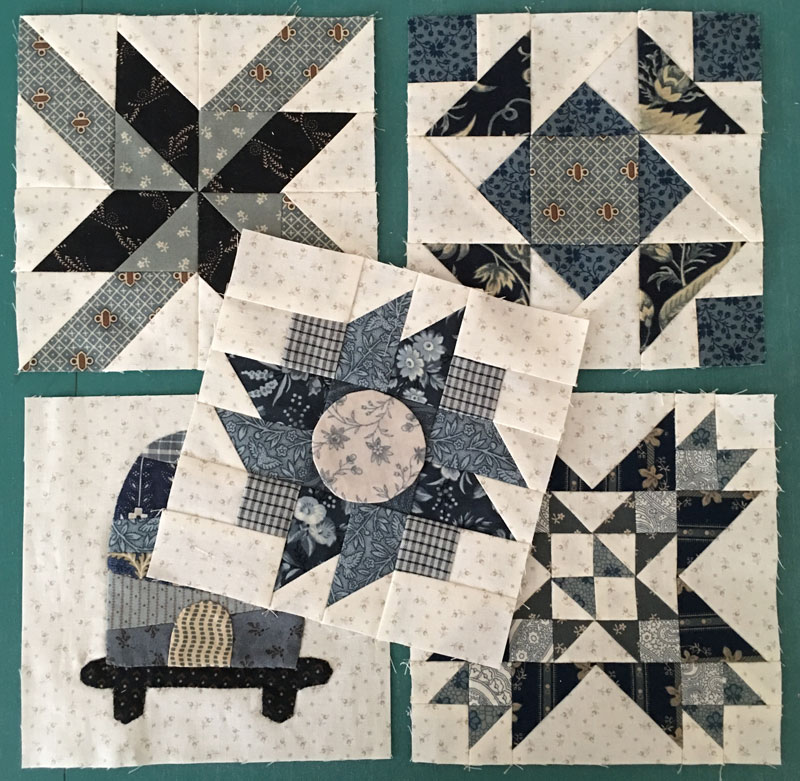
These are my Reproduction blocks to date - I'm missing Block 3.
And here are my Figgy blocks.
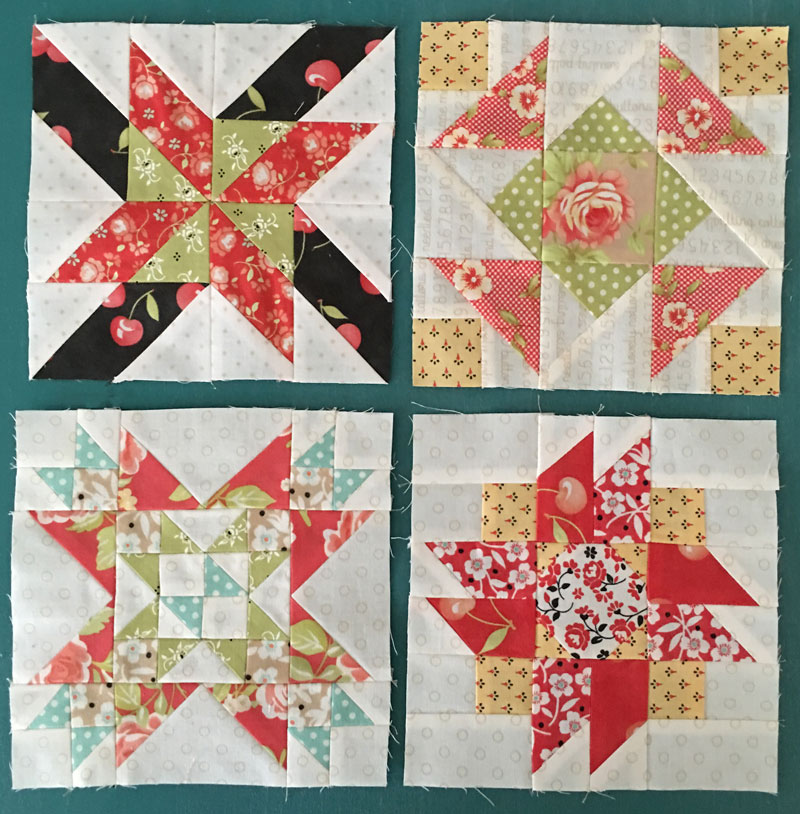
I'm missing Blocks 3 and 4. I made them... I just can't find them.
While I prefer to believe otherwise, there is a possibility that they were accidentally thrown out during a sewing room clean-up. I prefer to think they're just "in a safe place" or sandwiched with a stack of something else. At least that's what I'm going to tell myself until it is time to finish my quilt.
So one last time... click here for the link to the SUNFLOWER BLOCK.
That’s it for today so be sure to visit the others to see what they made:
- Lynne’s Blog / Facebook / Website
- Betsy’s Blog / Facebook / Instagram
- Jo’s Blog / Instagram
- Jan’s Blog / Website
- Lisa’s Blog / Website / Instagram
Be sure to see the blocks popping up in #modablockheads on Instagram and Facebook for more pictures. The Moda Blockheads Facebook group is also busy with folks sharing tips, suggestions and support.
Happy Wednesday!
Posted in:
Comments