Welcome to Moda Fabrics!
Tip Jar: Single-wide...
Tip Jar: Single-wide...
Published:
Dec 1 2015 - 04:00
There are some things that you need to actually see in person to figure out - or have someone explain how it's done.
Wide bindings - 1/2" or more that lay very flat.
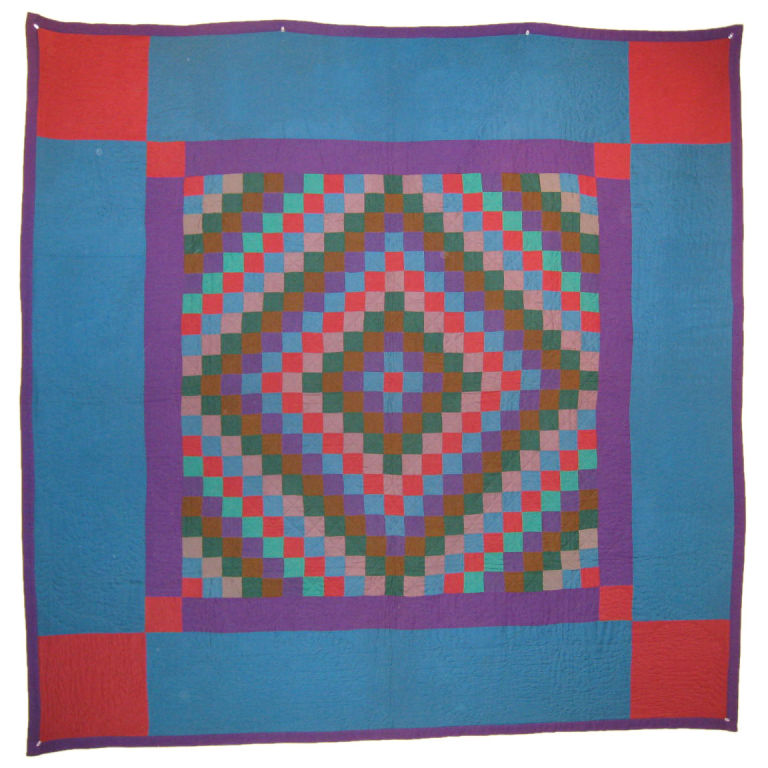
While I've seen many photographs of antique quilts with wide bindings, I'd only ever seen one in person, an Amish quilt from the Esprit collection in San Francisco. It was before I started making quilts and attaching bindings so unfortunately, I didn't pay it much attention. Books didn't help as it wasn't a popular technique and my experiments in trying to duplicate the look didn't turn out well. (Think the wide, poufy, faux-satin binding on not-so-old blankets.)
Gwen Marston. She'd figured it out - instead of the usual double-fold binding that most of us are accustomed to using, wide bindings are best done with a single-fold bias binding.
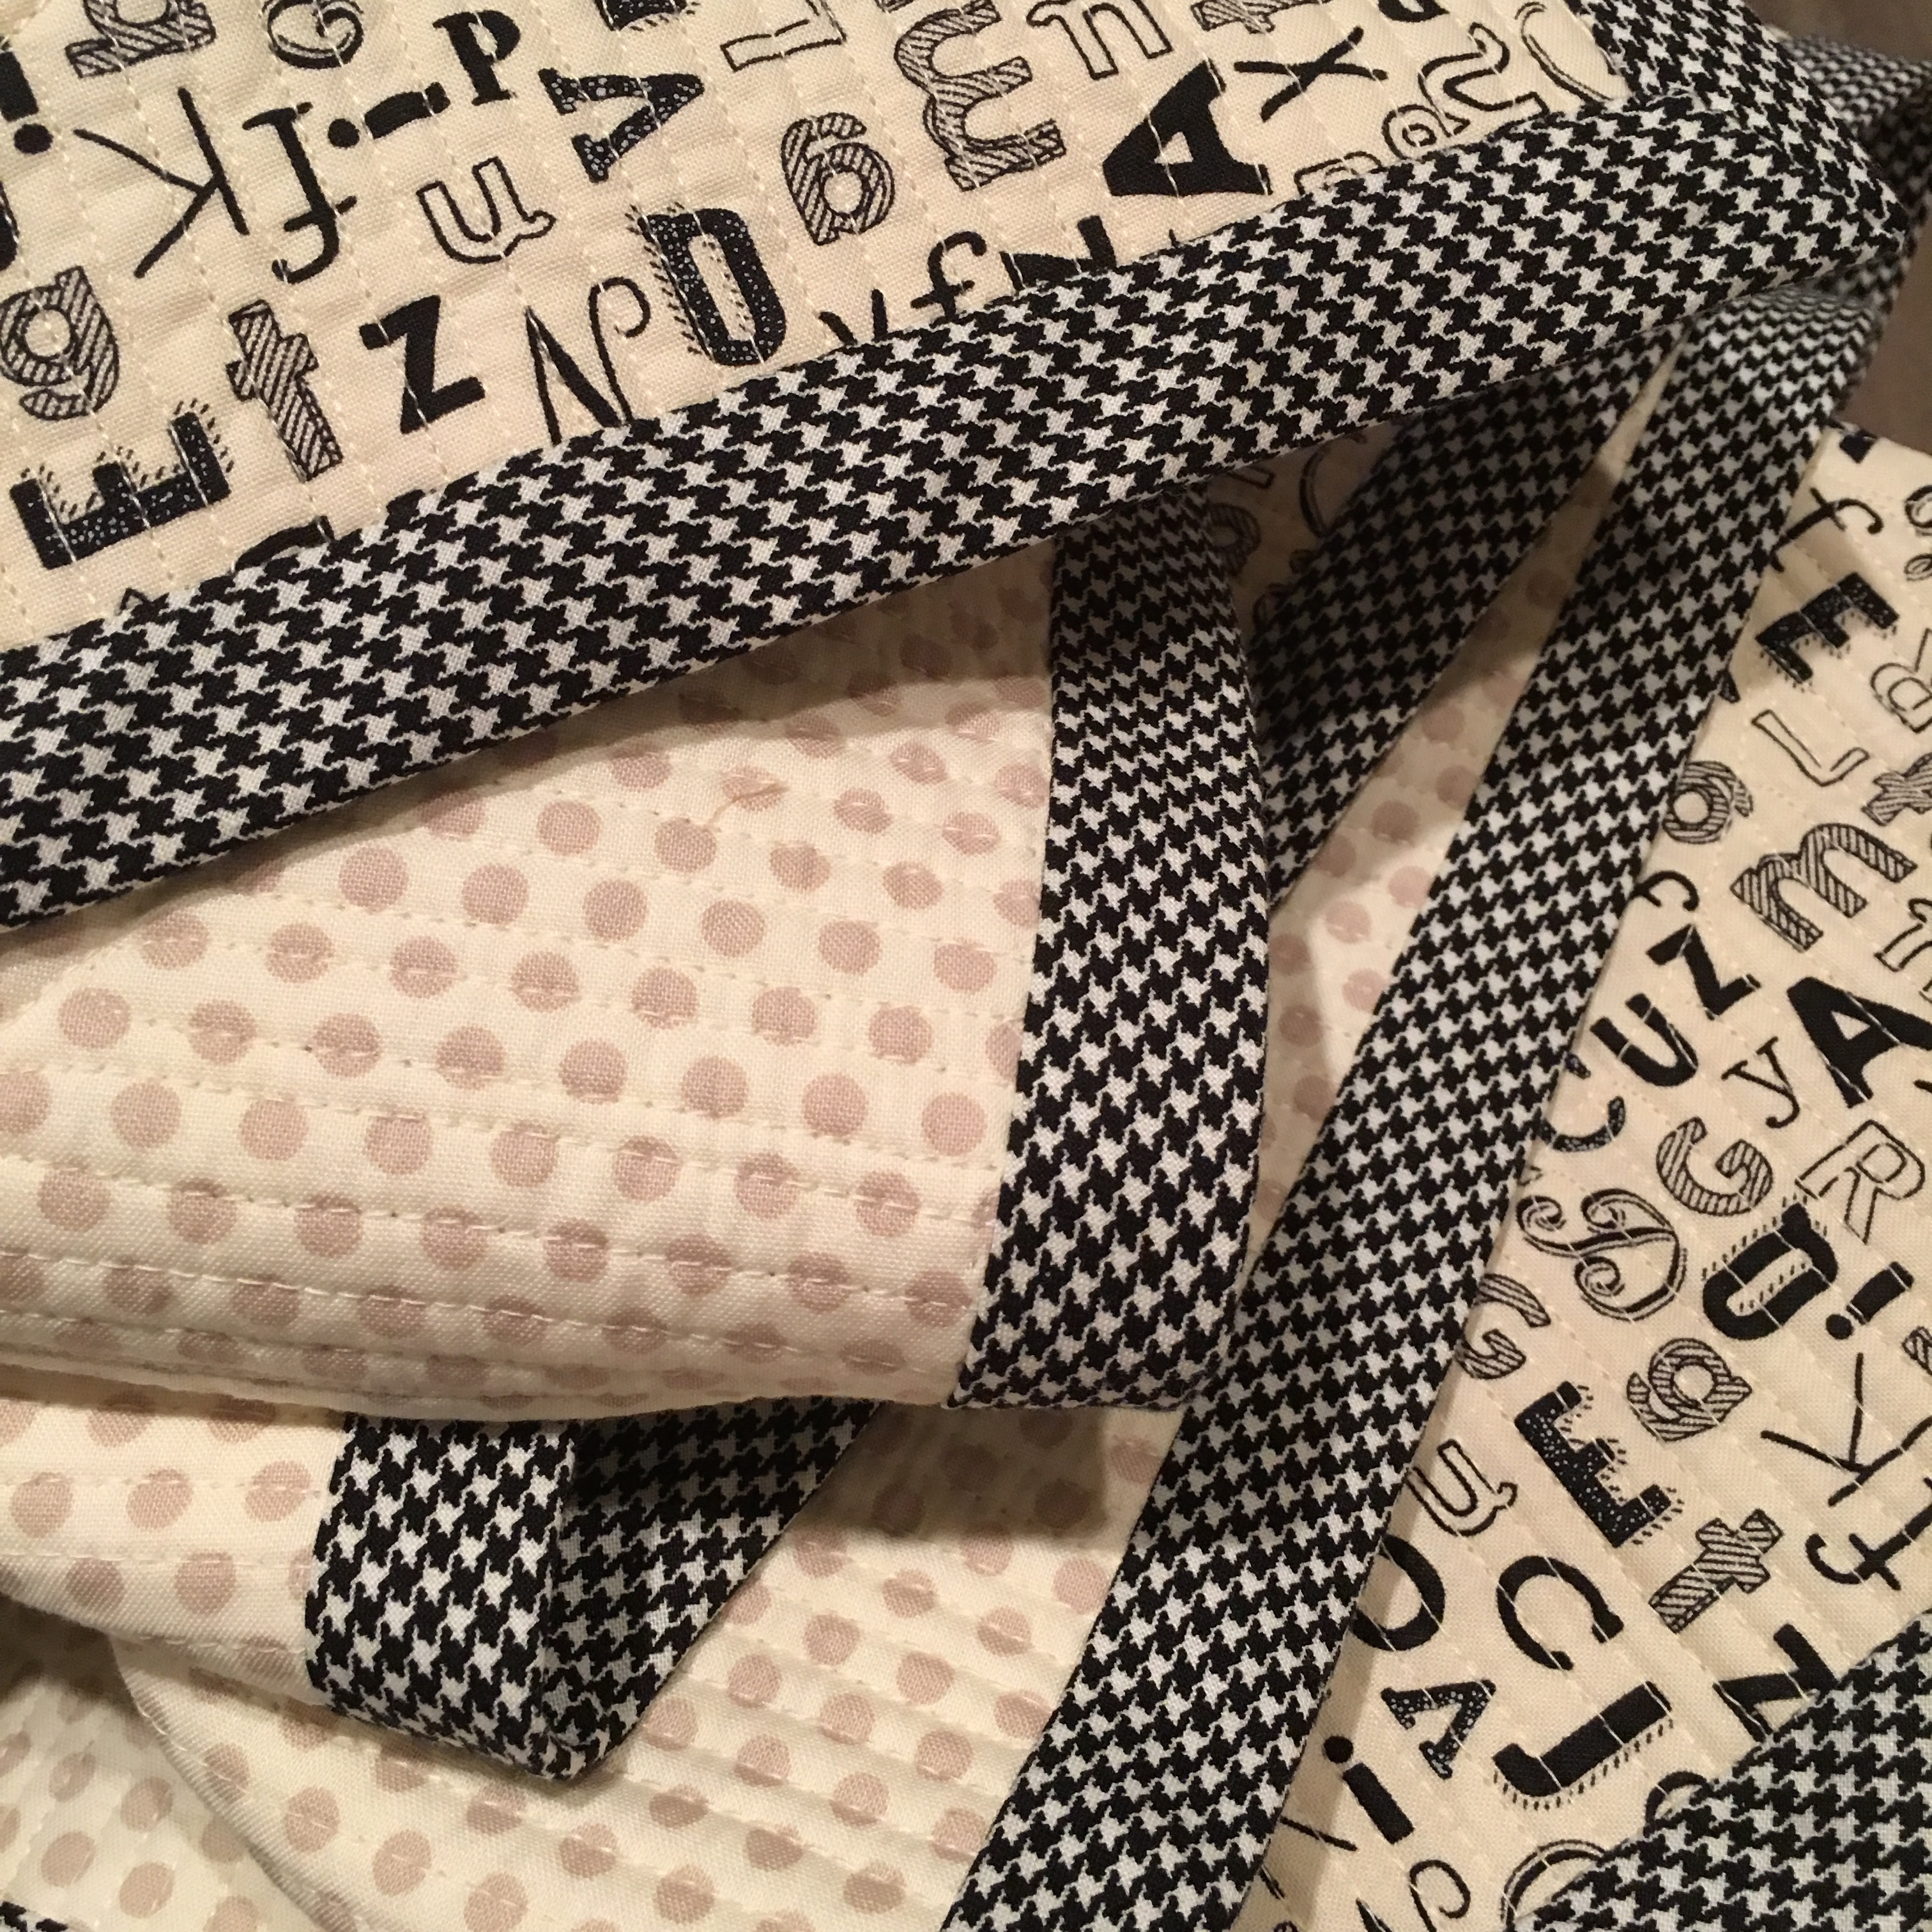
I couldn't wait to try it out. Love. Crush! This binding finishes at 3/4" wide.
To date, I've done three projects with wide bindings. This is the first one I can share, it's a variation of the Modern Maples quilt that's been on social media for the past year or two. I'm not sure who came up with the original idea - if you know, please let me know so I can give them credit.
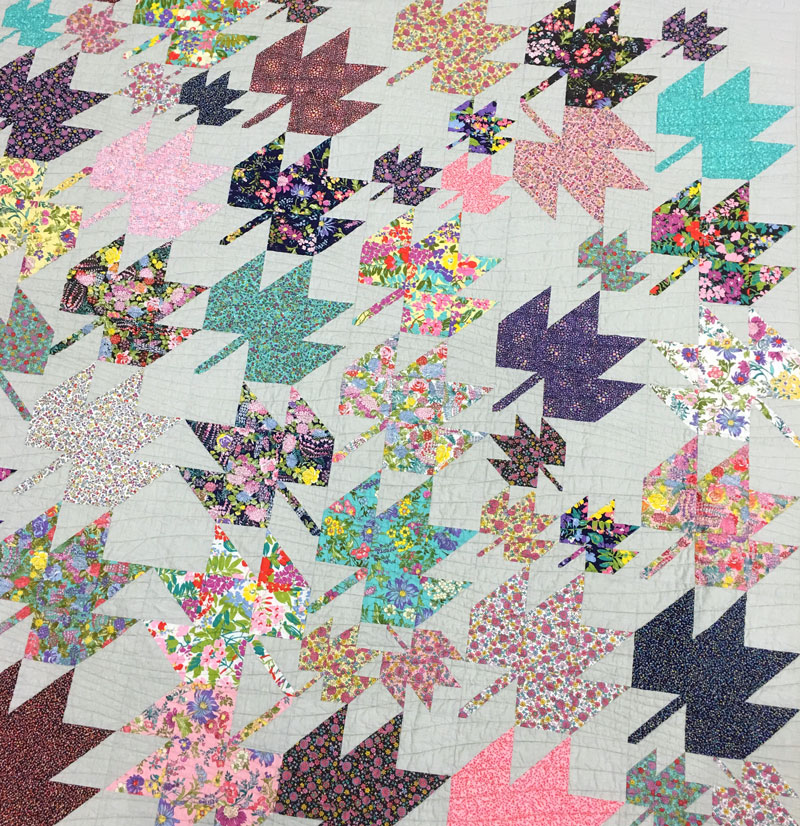
I loved the random setting used by several people - and credited to Lori Holt - but by the time I got to thinking of a setting, I'd already made my blocks. I had more big blocks than I needed and not enough fabric to make more small blocks... so I improvised.
The fabric is the upcoming Regent Street 2015 Lawns with a gray woven from the Fiesta Wovens collection.
But back to the binding - it measures 3/4" wide on the front and back.
Here's how it's done.
Planning ahead. Since I knew that this quilt was going to get a wide binding, I asked my lovely machine-quilter to do some extra stitching on the outside 1/2" of the quilt top.
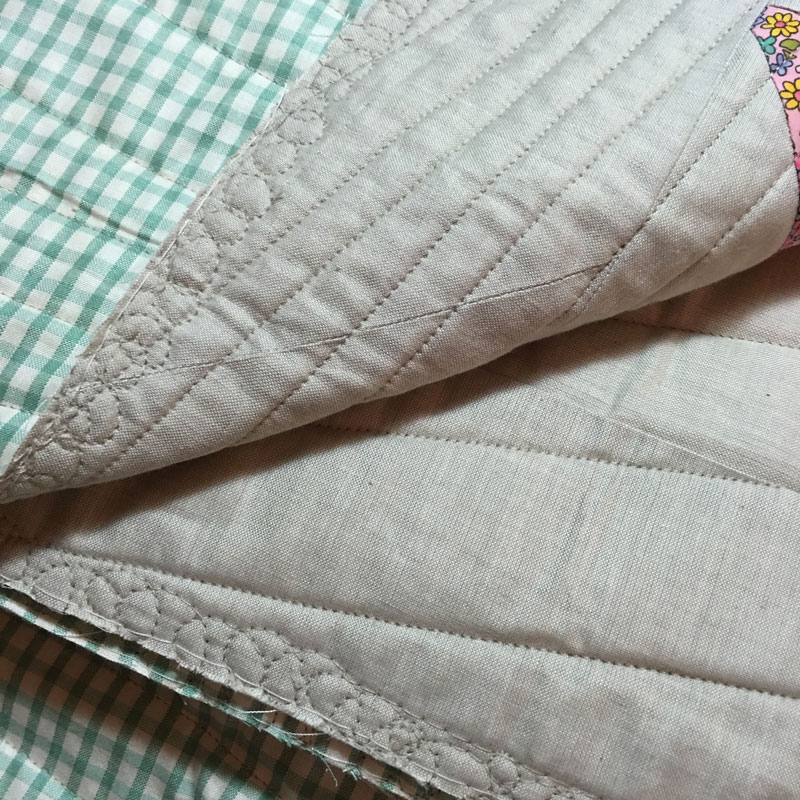
The only purpose for this is to keep the edge within the binding as flat as possible.
Step 1. Cut the binding strips on the bias - 3" wide.

They're a little bit wider than necessary but I found that while 2 3/4" is wide enough, it was easier to fold under and stitch with a little bit more generous seam allowance.
Sew the strips together with a scant 1/4" seam allowance and press the seams open.
If desired, wind the binding on a spool or card to keep it from getting tangled while it's being stitched onto the quilt.
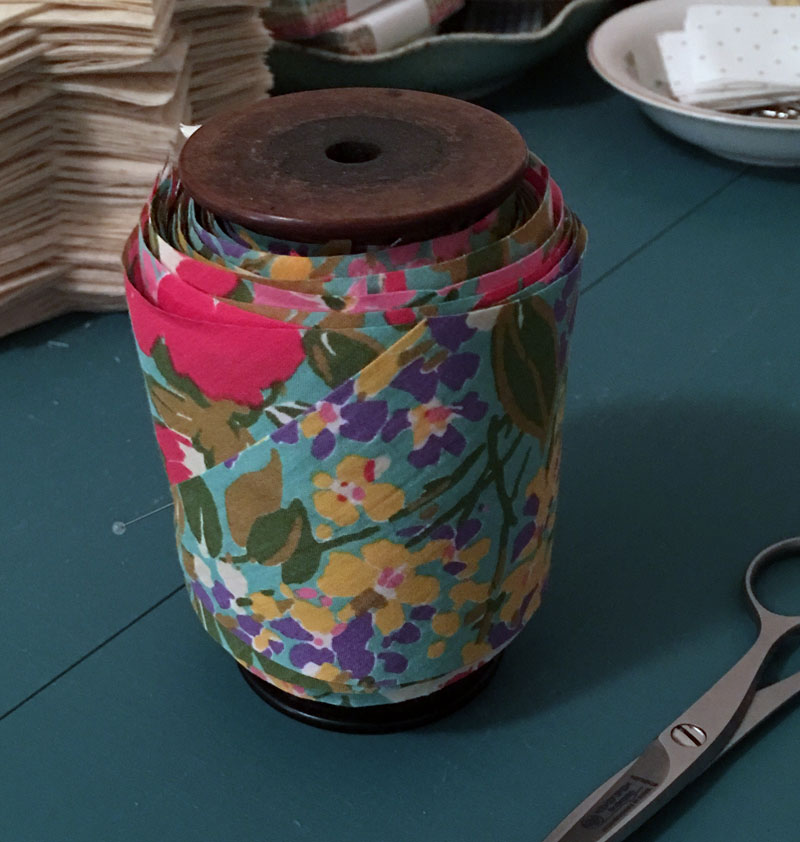
It also looks pretty.
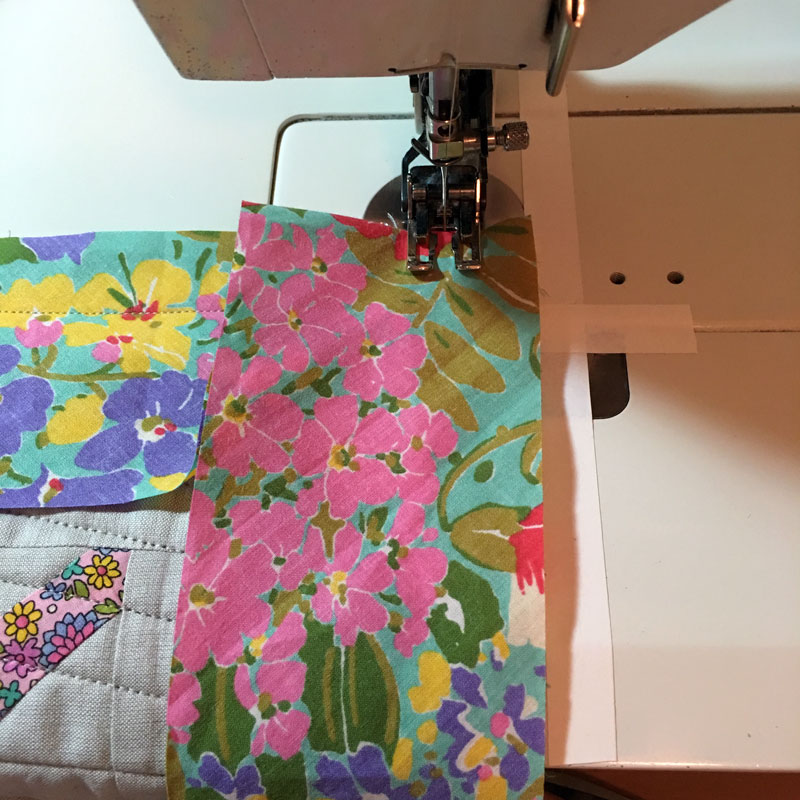
Step 2. Using masking tape, mark the desired seam allowance on the sewing machine. For this binding - I measured a 3/4" seam allowance.
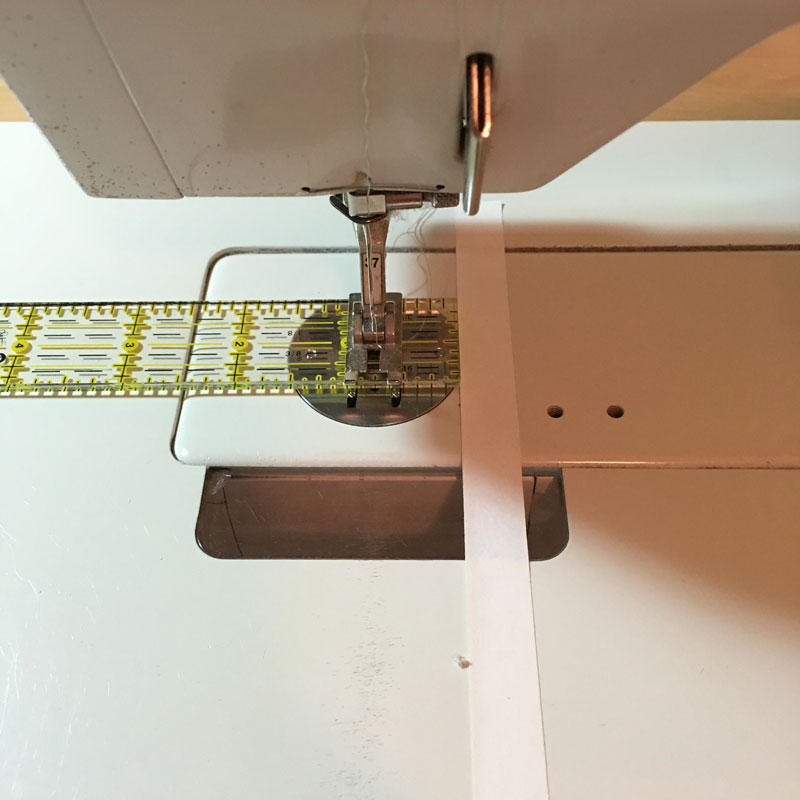
Now measure the same seam allowance - 3/4" - in the front of the needle - this is for the mitered corners.

Yes, I forgot to take this picture until after I'd finished attaching the binding.
Step 3. With right sides together, align the edge of the binding with the edge of the border/quilt top. With the edge aligned with the tape-marker for the seam allowance, begin stitching the binding to the quilt top.
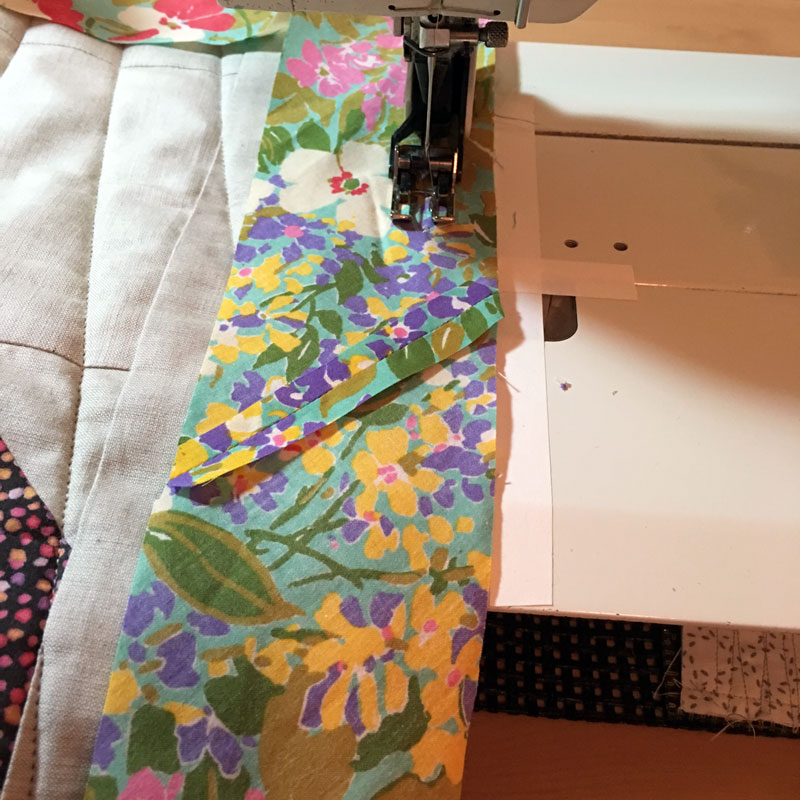
Step 4. Using the horizontal tape as the guide, stop stitching when you reach the point 3/4" from the corner. Turn the corner and stitch back to the edge of the quilt top as shown.
Step 5. Lift the presser foot and fold the binding strip back to the edge as shown - making sure that there aren't any unseen folds in the fabric, and that the corners are sharp.
Step 6. Keep stitching using the 3/4" seam allowance until you reach the starting point. Join the seams with a diagonal seam - just as you would do for a double-fold binding. Press the seam open and finish stitching the binding onto the quilt top.
Step 7. While this isn't required, I recommend pressing the binding open - away from the front of the quilt top and toward the binding. This minimizes the chances of a fold along the seam, and it seems to help me make the fold over the edge of the quilt top.

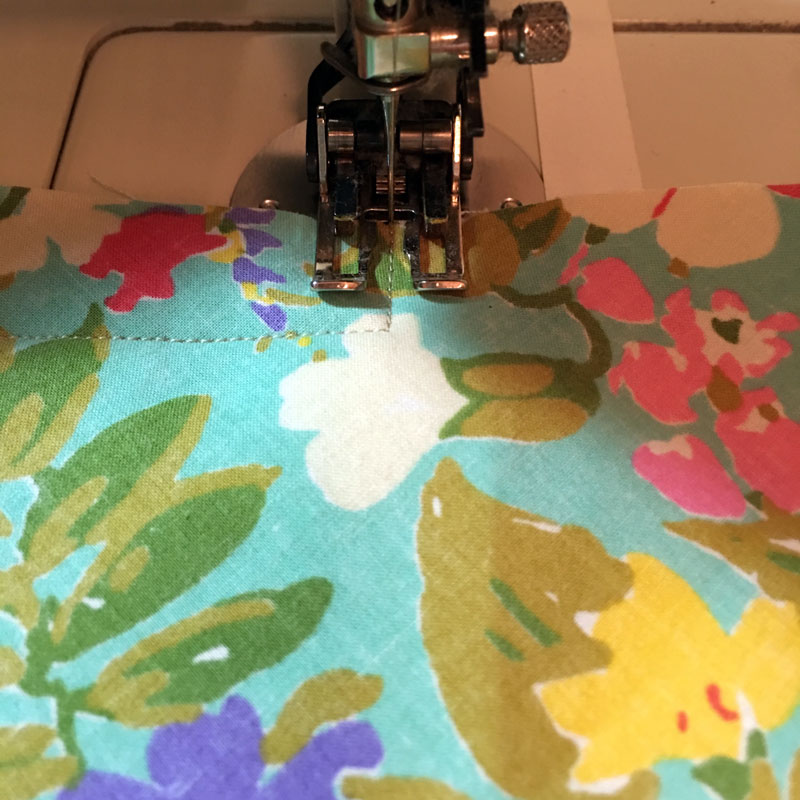
Step 8. Folding under the edge along the line of stitching, pin the binding in place and stitch it down.
I think you'll be surprised at how easily the corner goes - just remember to stitch down the fold in the miter on the front and back sides of the quilt.
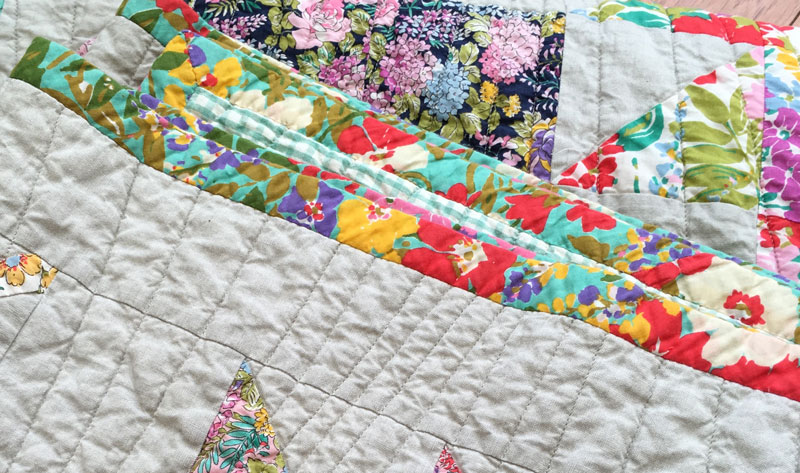
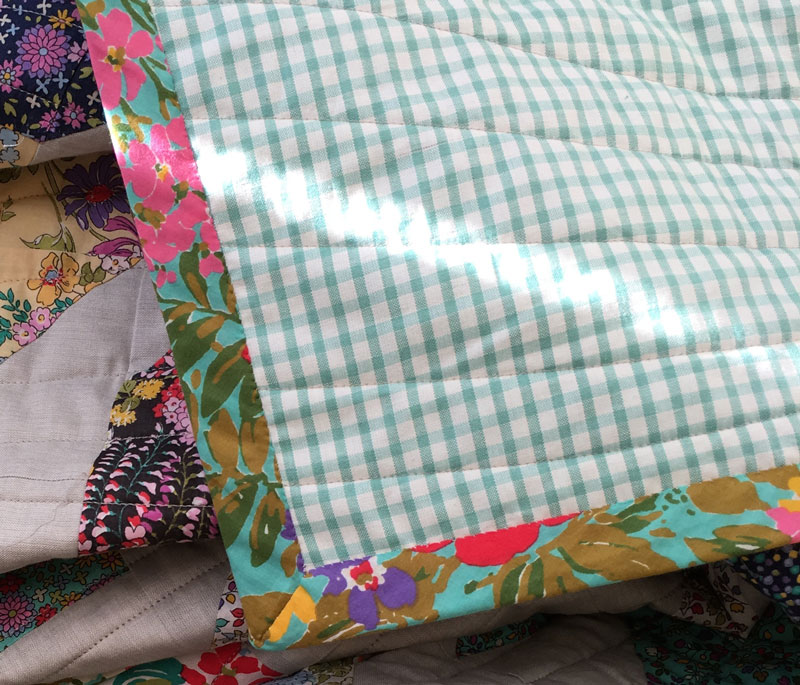
I did wonder if I would have to press the binding flat after it had been washed but it hasn't been necessary. This is what it looked like after it came out of the dryer.
Two more things to mention. First, the fabric. I love the Regent Street Lawns - the first collection and this new 2015 edition. The fine threads and tight weave of cotton lawn makes the fabric very lightweight. It's easy to sew with - though I do have a few recommendations.
- Pre-washing. Because of the tight weave and fine threads, cotton lawns don't shrink as much as regular quilting cottons. However, pre-washing is still recommended if you're going to use the lawns for garments. For patchwork, if you press with steam - as I do - then prepping the fabrics with starch or sizing will give the fabric a little bit more body and alleviate any shrinkage. If you're mixing the lawns with regular quilting cottons, those fabrics should be "prepped" or pre-washed as they will shrink more than the lawns.
- Thread. The very fine weight of the fabric means that a fine thread is recommended for piecing - a 50 wt. Aurifil, a 60 wt. Presencia or a 50 wt. DMC Embroidery thread.
- Needle. The finer thread and fabric require a finer needle - no more than a 75/11. A 70/10 is ideal - unless you're sewing the lawns to a thicker, linen-like weight fabric.
Second, the Modern Maple. My large Maple Leaf blocks finish at 10 1/2" x 10 1/2" and the small Maple Leaf blocks finish at 5 1/4" x 5 1/4". I made 32 big blocks and 20 small blocks - and my finished quilt measures approx. 68" x 73".
I used one Layer Cake and one Charm Pack to cut the pieces for my quilt -
- Prints - Large Blocks: 32 sets of the following - 3 matching squares - 4" x 4" for the plain squares / 2 matching squares - 4 1/2" x 4 1/2" for the HTSs / 1 strip - 1" x 6" for the leaf steam.
- Prints - Small Blocks: 10 sets of the following - 6 matching squares - 2 1/4" x 2 1/4" for the plain squares / 1 square - 5 1/2" x 5 1/2" for the HTSs - two sets of 4 matching - and 2 strips - 3/4" x 5" for the leaf stems.
- Background - Large Blocks: 32 sets of the following - 3 matching squares - 4 1/2" x 4 1/2" - 2 for the HTSs and 1 for the stem square / 1 square - 4" x 4" for the block. Trim finished units to 4" x 4".
- Background - Small Blocks: 10 sets of the following - 2 matching squares - 2 1/4" x 2 1/4" for the plain squares / 1 square - 5 1/2" x 5 1/2" for the HTSs / and 1 square 2 1/2" x 2 1/2" for the stem square. Trim finished units to 2 1/4" x 2 1/4".
- Background - Plain Squares: 8 squares - 5 3/4" x 5 3/4".
For an excellent tutorial on the construction of the Modern Maple block - Nicole Daksiewicz of Modern Handcraft.
Both the background and backing fabrics are silky-wovens from the Fiesta Wovens collection. While the thread-count isn't quite as high as it is for the lawns, the fabrics are a bit lighter-weight and finer than regular quilting cottons. The batting used in the quilt is Luna Loft, a light-to-medium weight cotton-poly blend batting. The finished quilt is very light, very soft and quite wonderful.
(It was quilted by Maggi Honeyman.)
It goes without saying that I'll be making more quilts with cotton lawn. And with wide bindings.
Comments