Welcome to Moda Fabrics!
Moda DIY Design Party
Moda DIY Design Party
Published:
Mar 21 2014 - 03:00
You may remember the Onesie Party I threw for my best friend, Jessica, a few years ago.
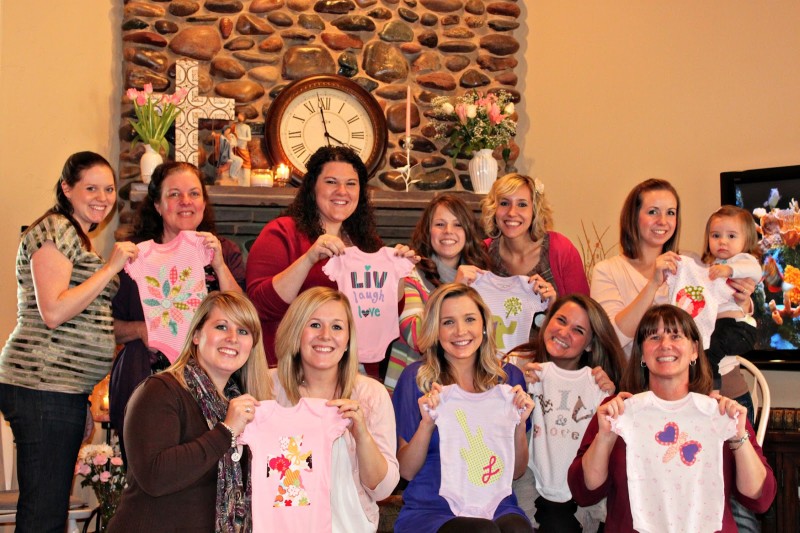
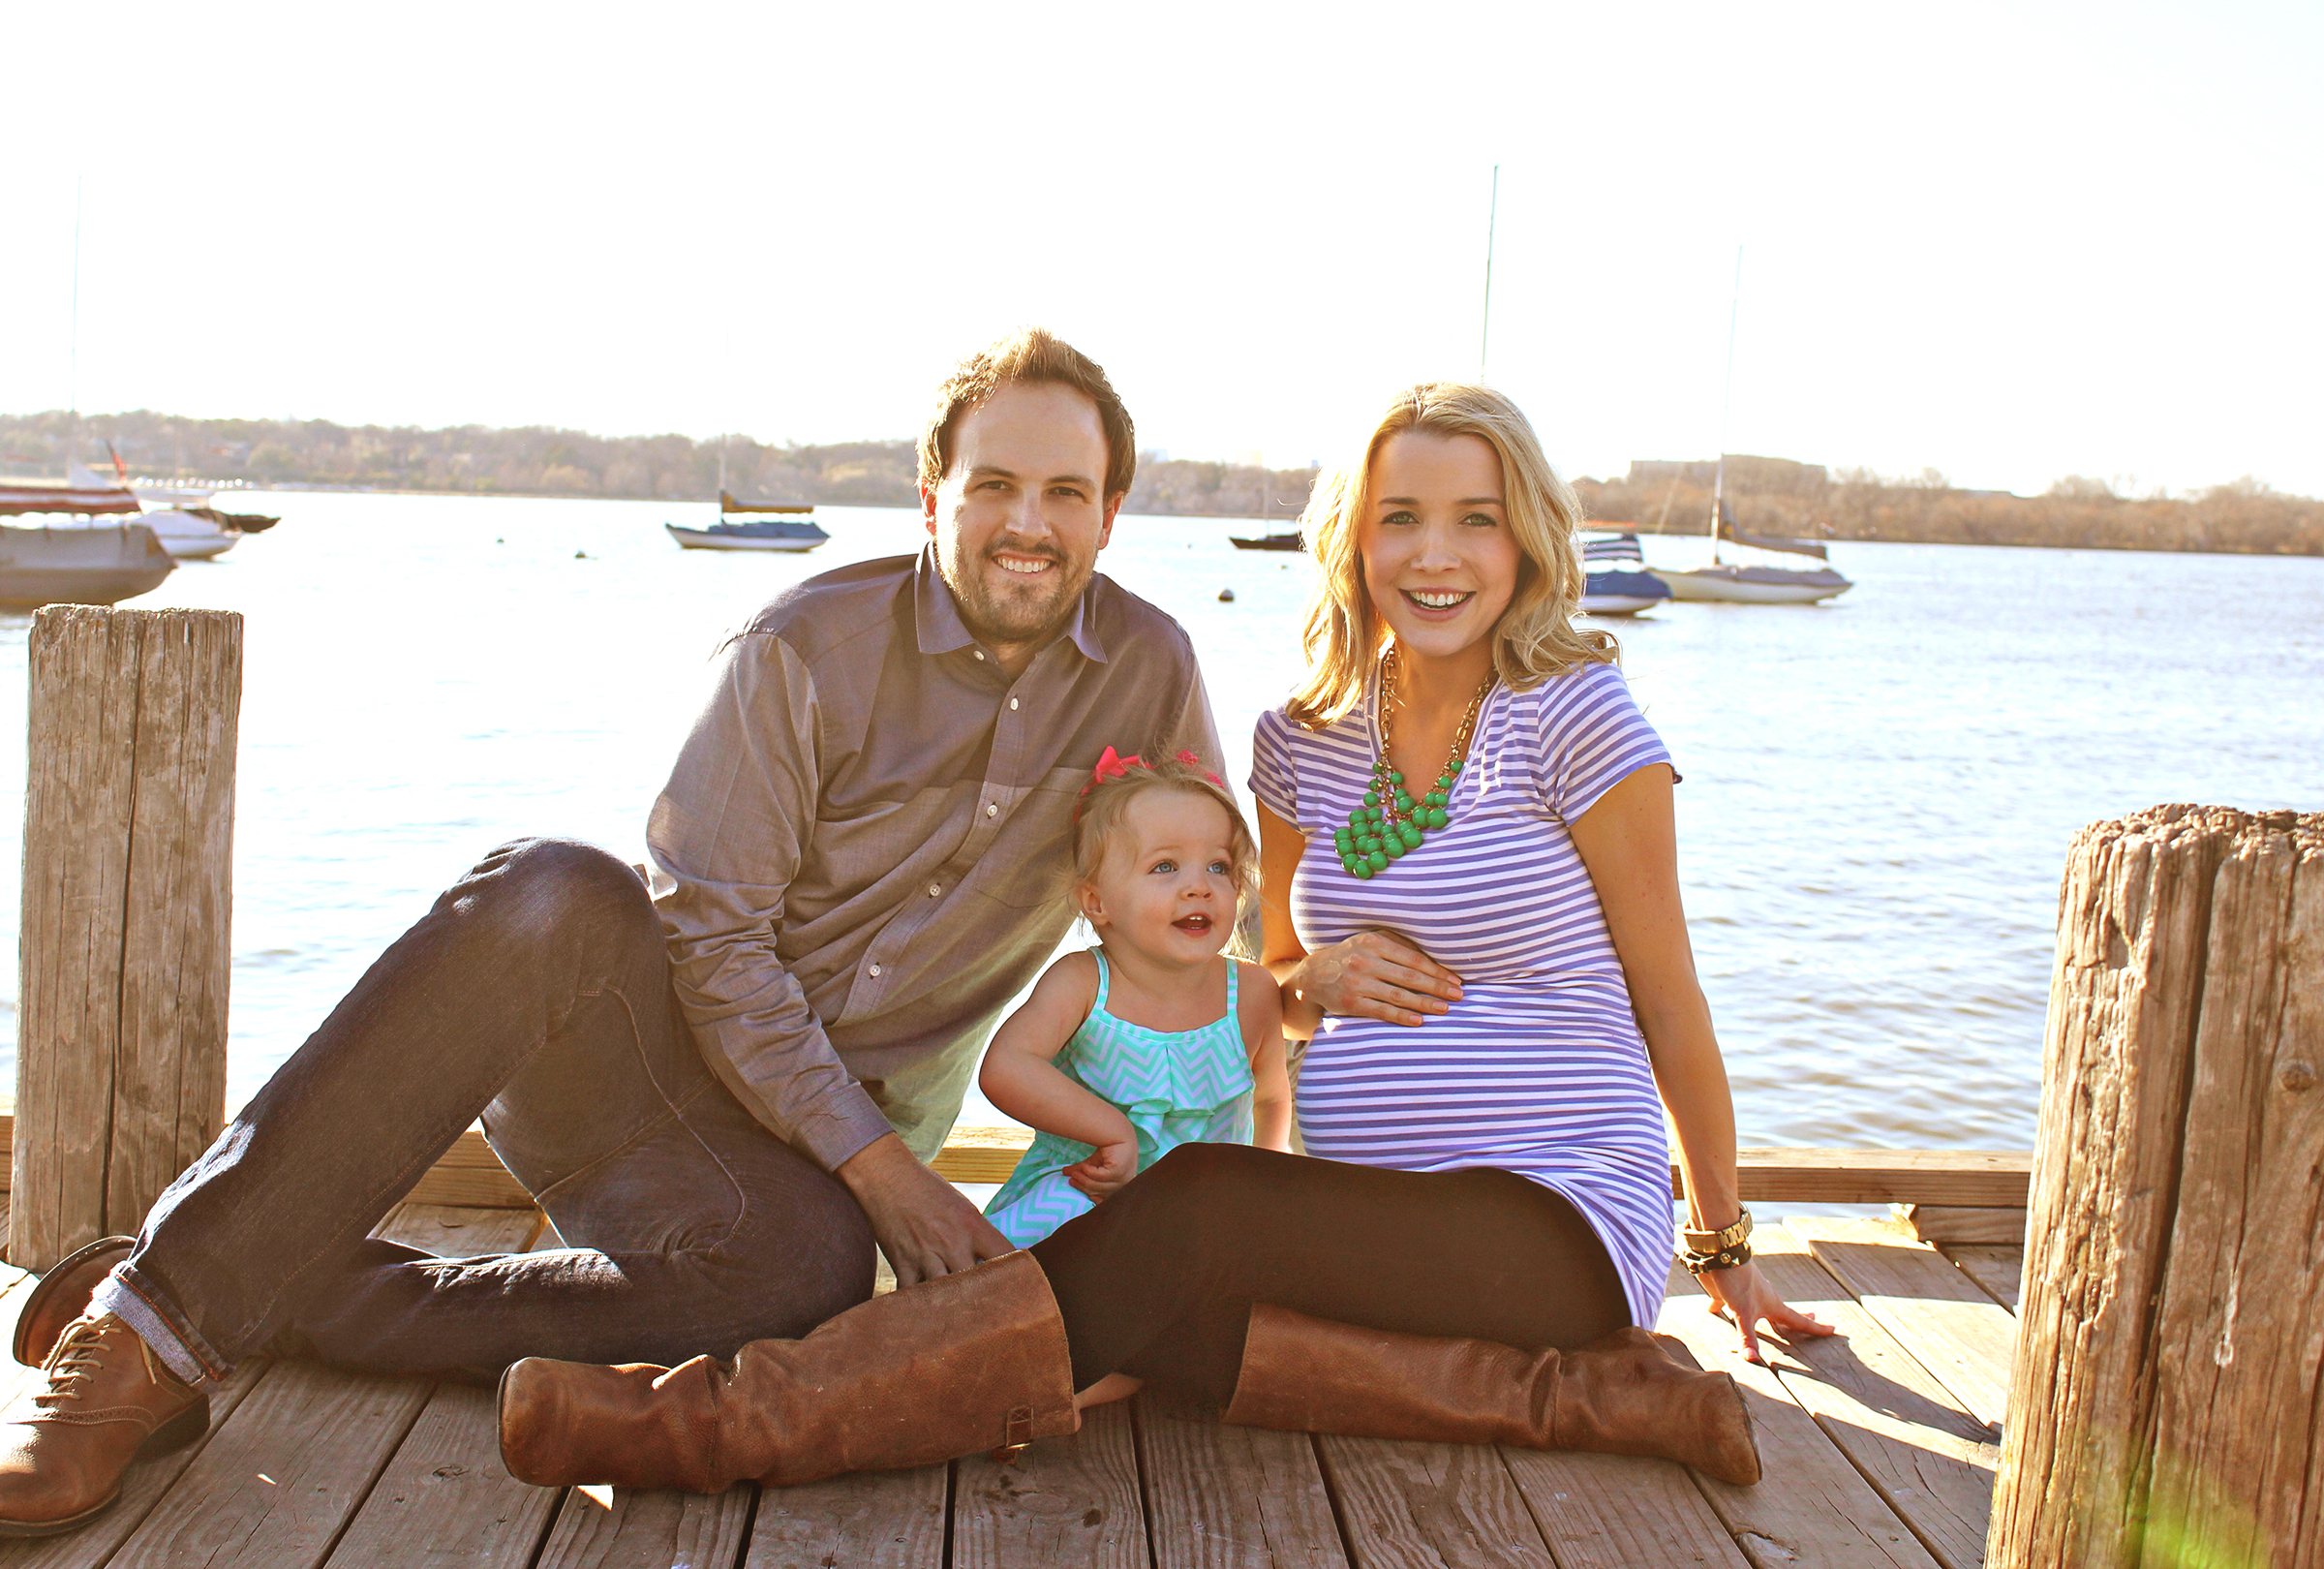
Well now her sweet baby girl, Liv, is 2 years old and expecting a little brother in April!
You know I just HAD to make her something special to wear at the hospital. :)
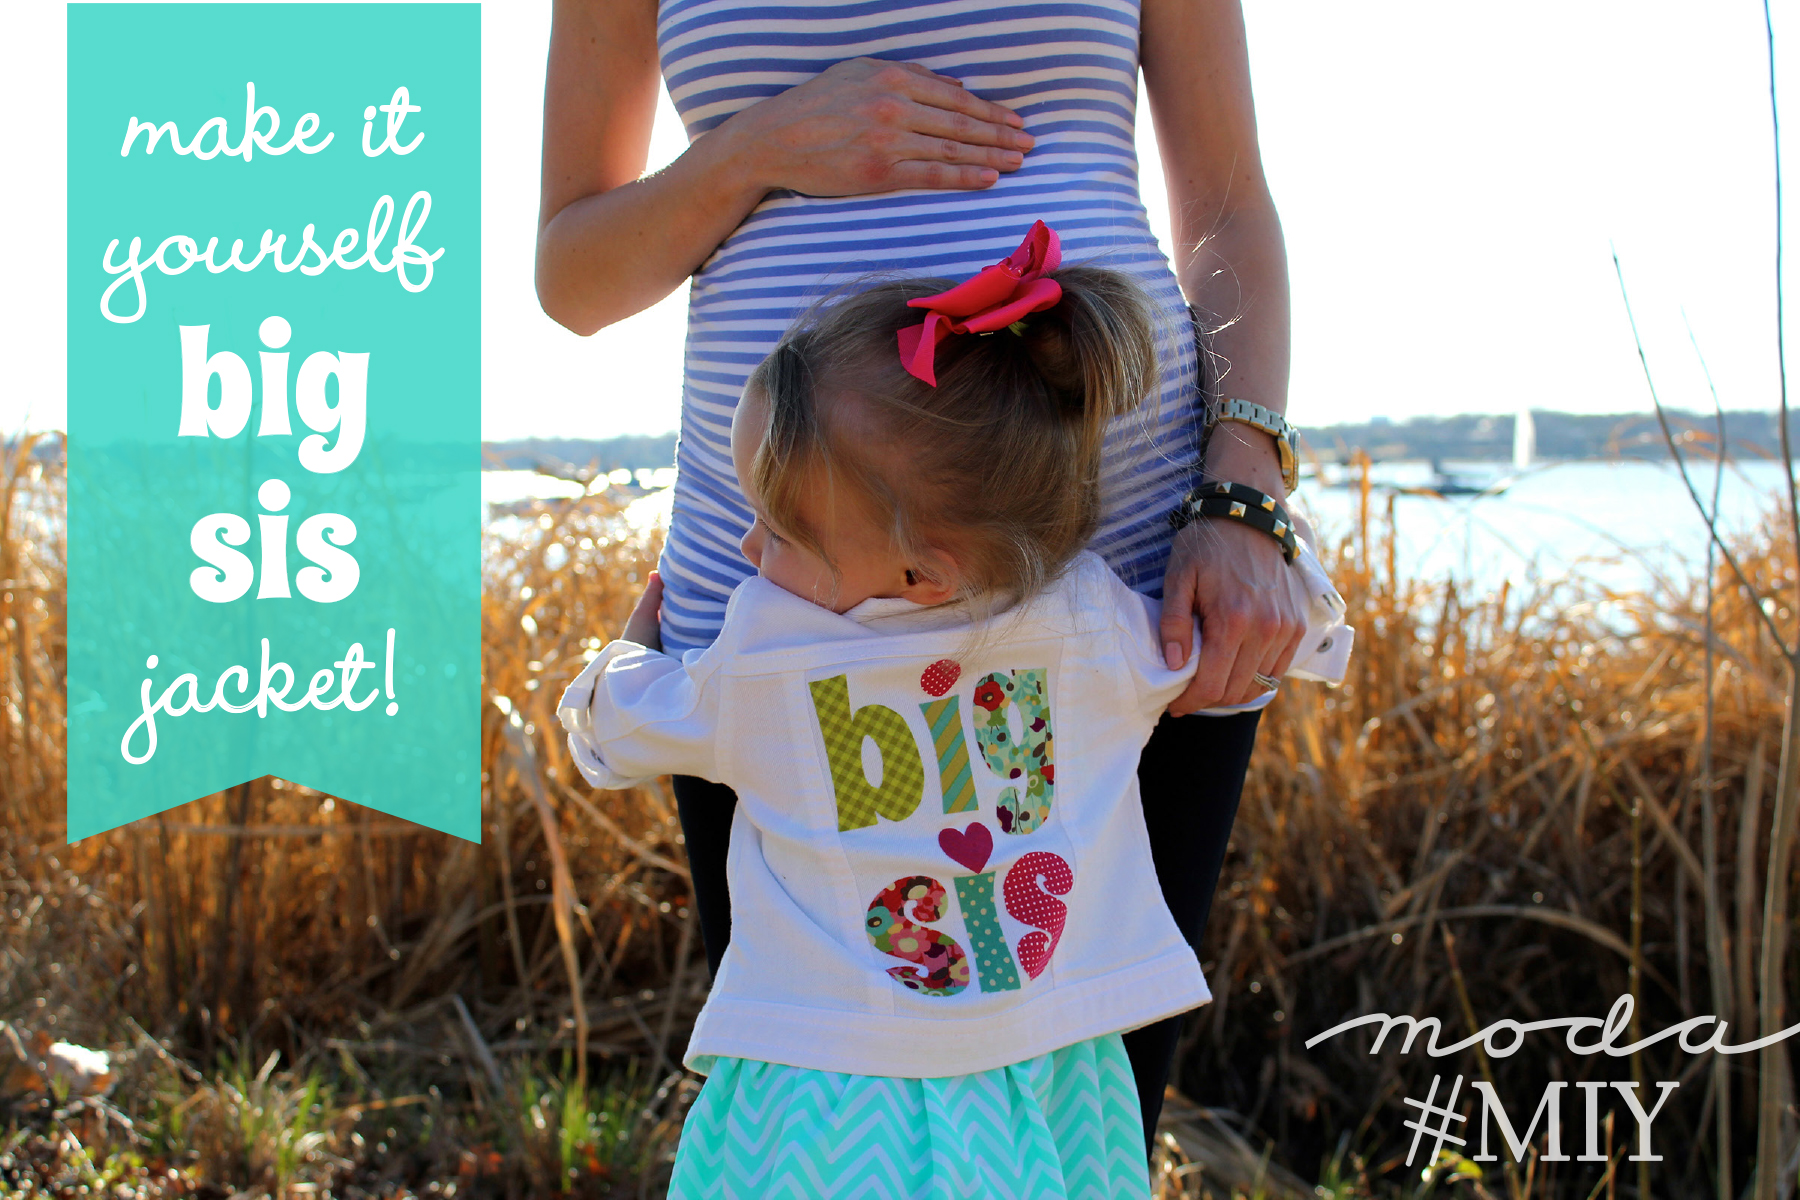
So I ran to Target and got this adorable white denim jacket and began my BIG SIS project.
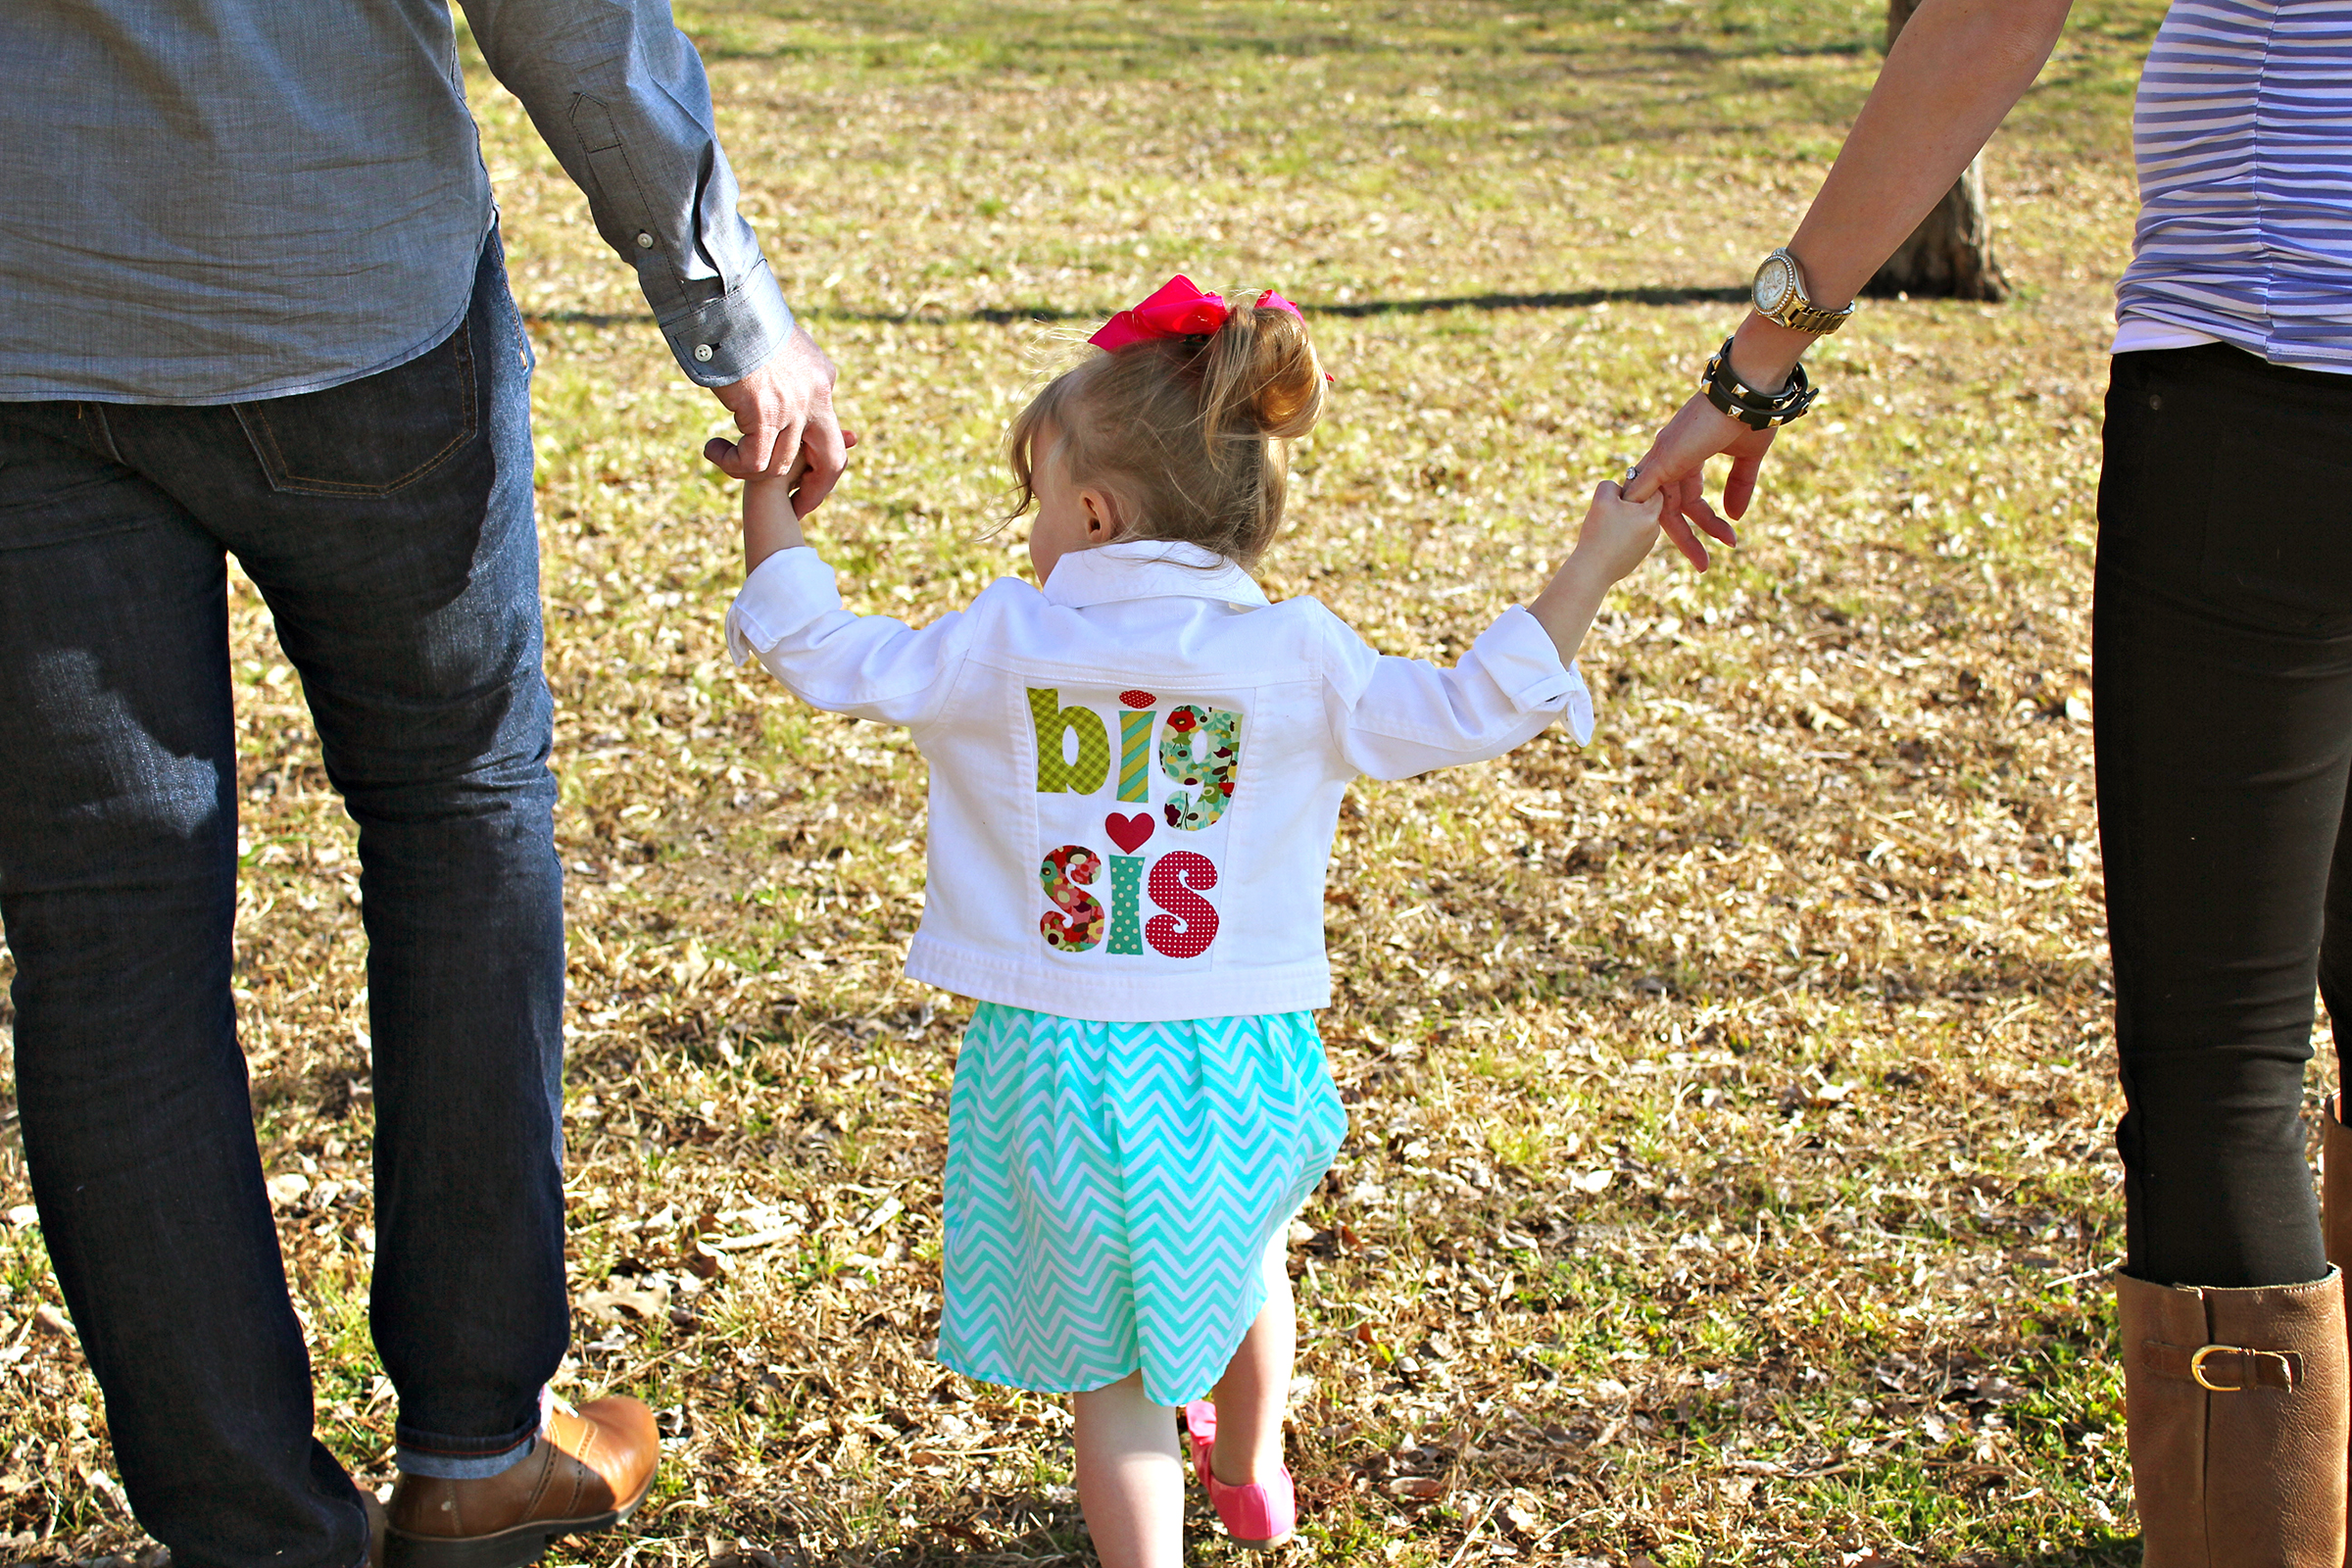
I followed the same instructions from the Onesie Party just using a jacket and a Moda Layer Cake instead of onesies and Moda Charm Packs.
Moda Fabric used on jacket: Avant Garden (coming in July!!)
It was so fun to make and I love how it turned out. And Liv loved it too!
She is so excited about her new brother if you can't tell...
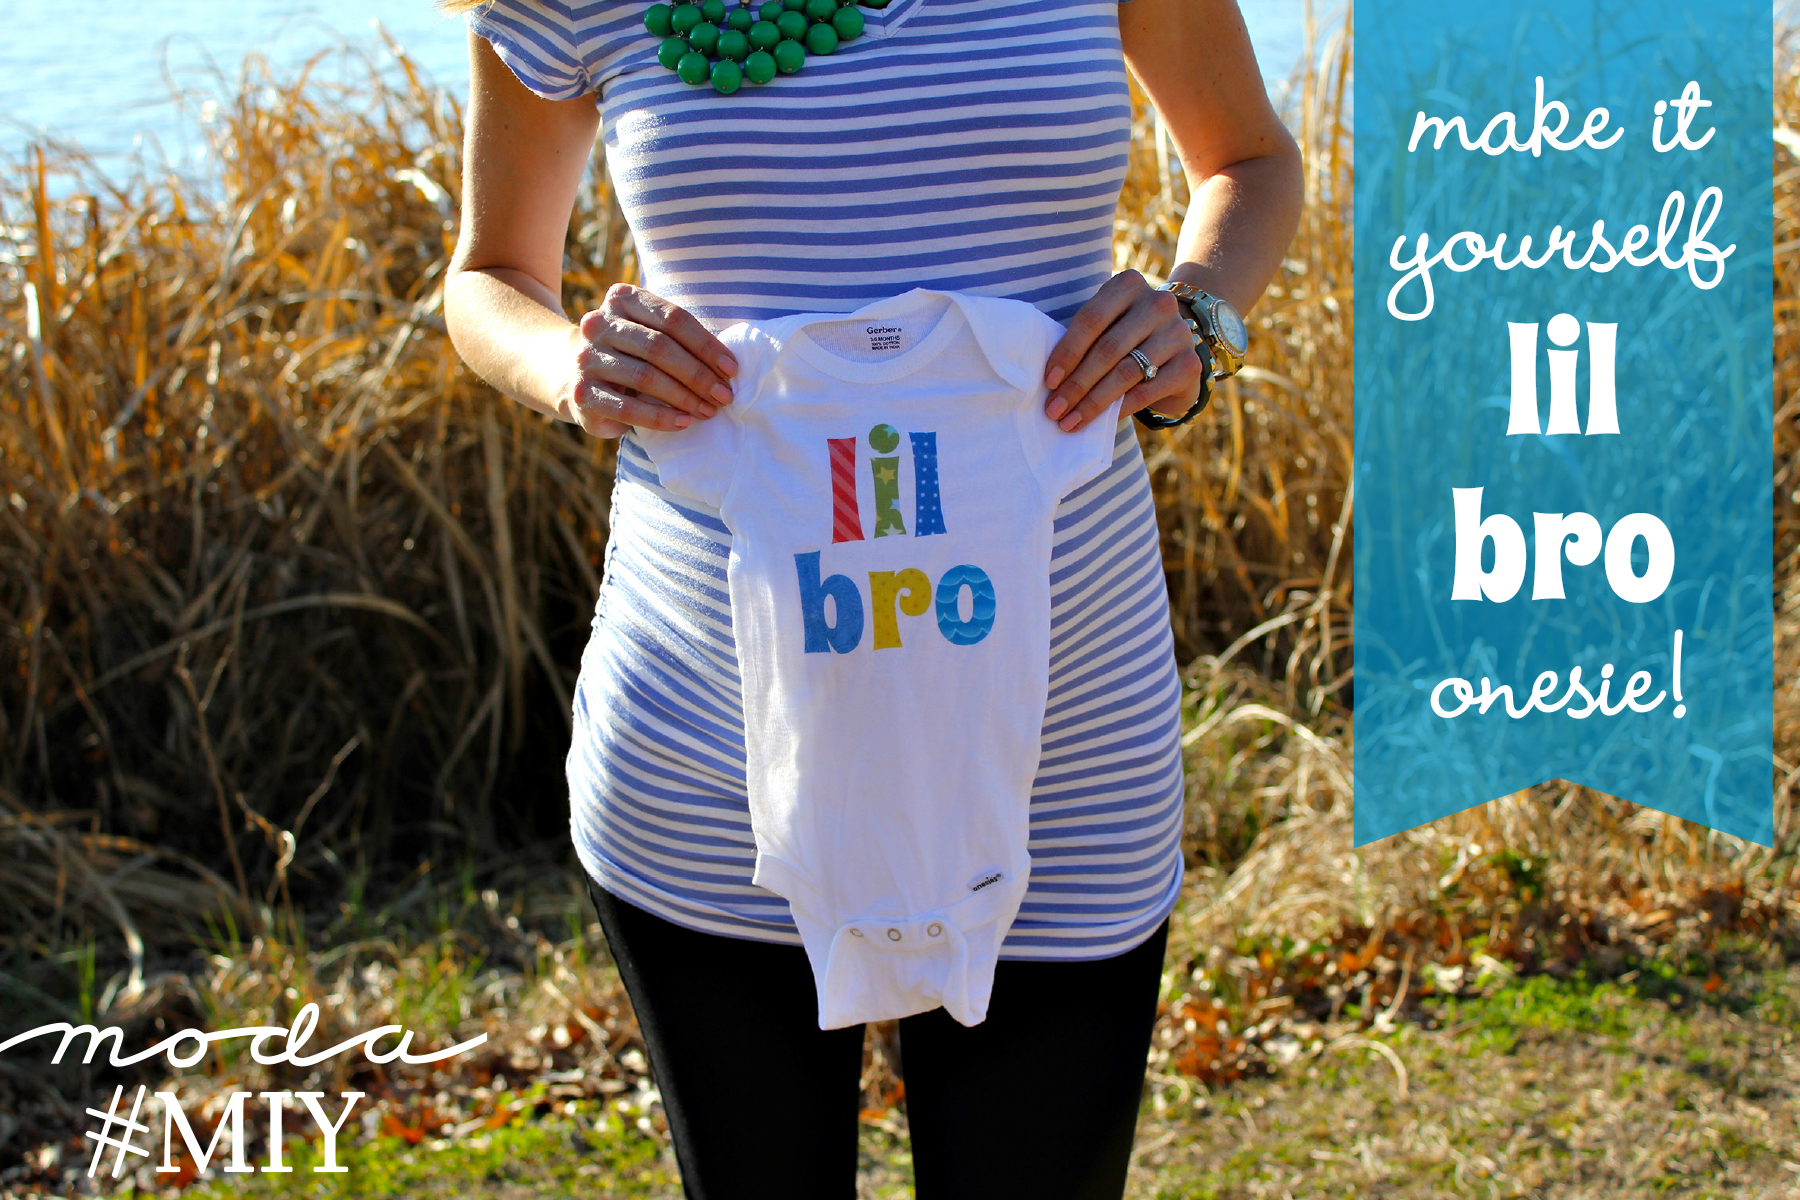
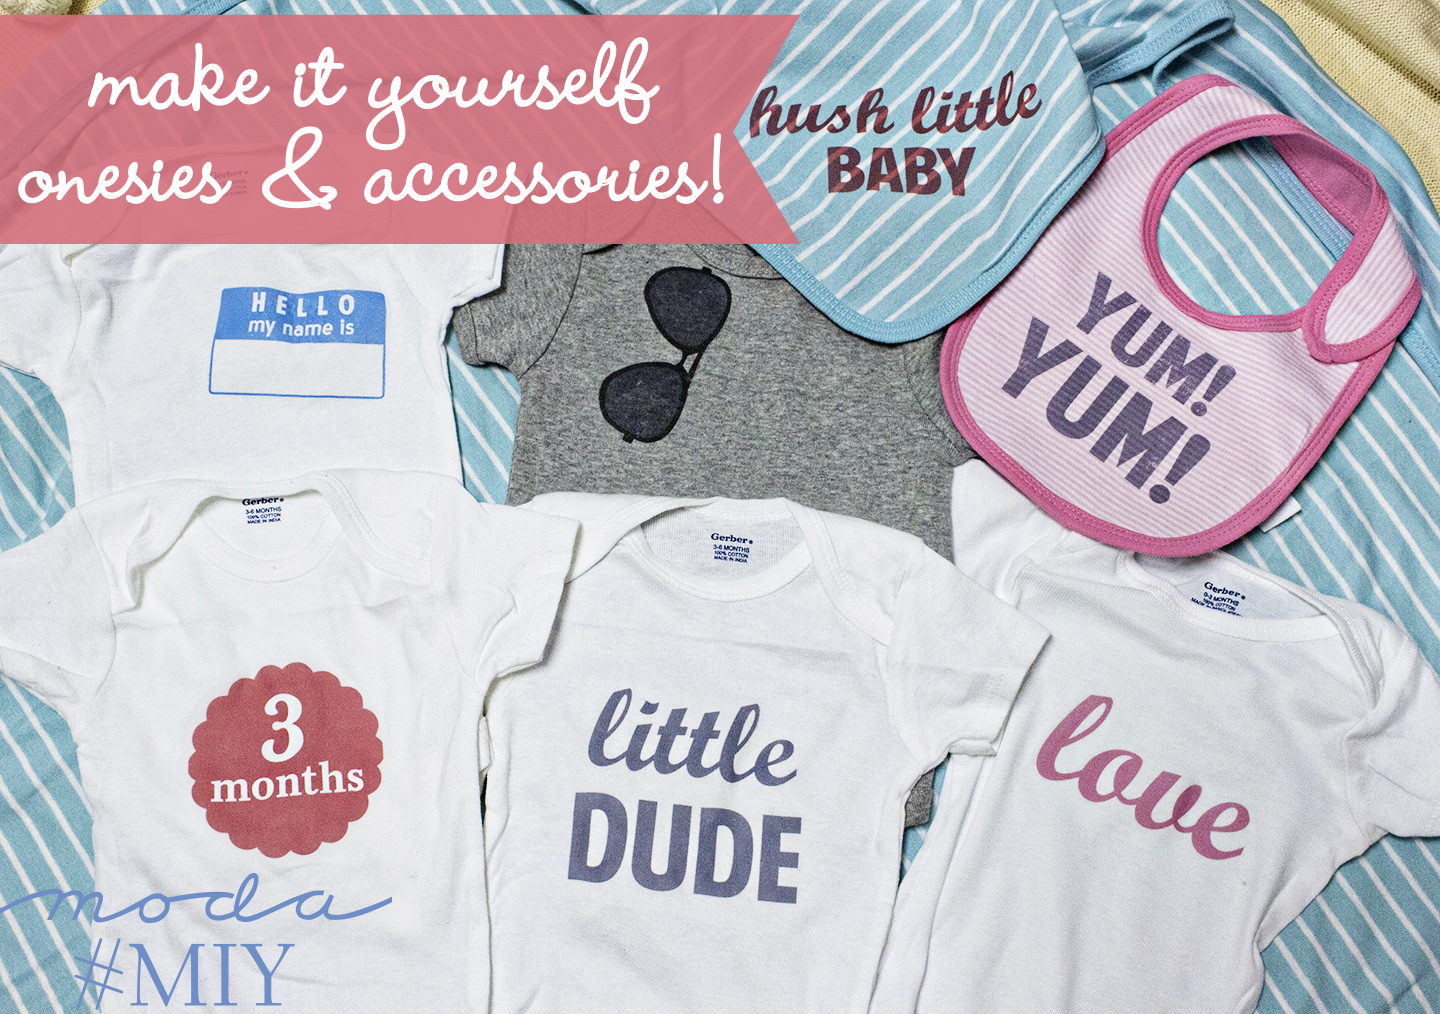
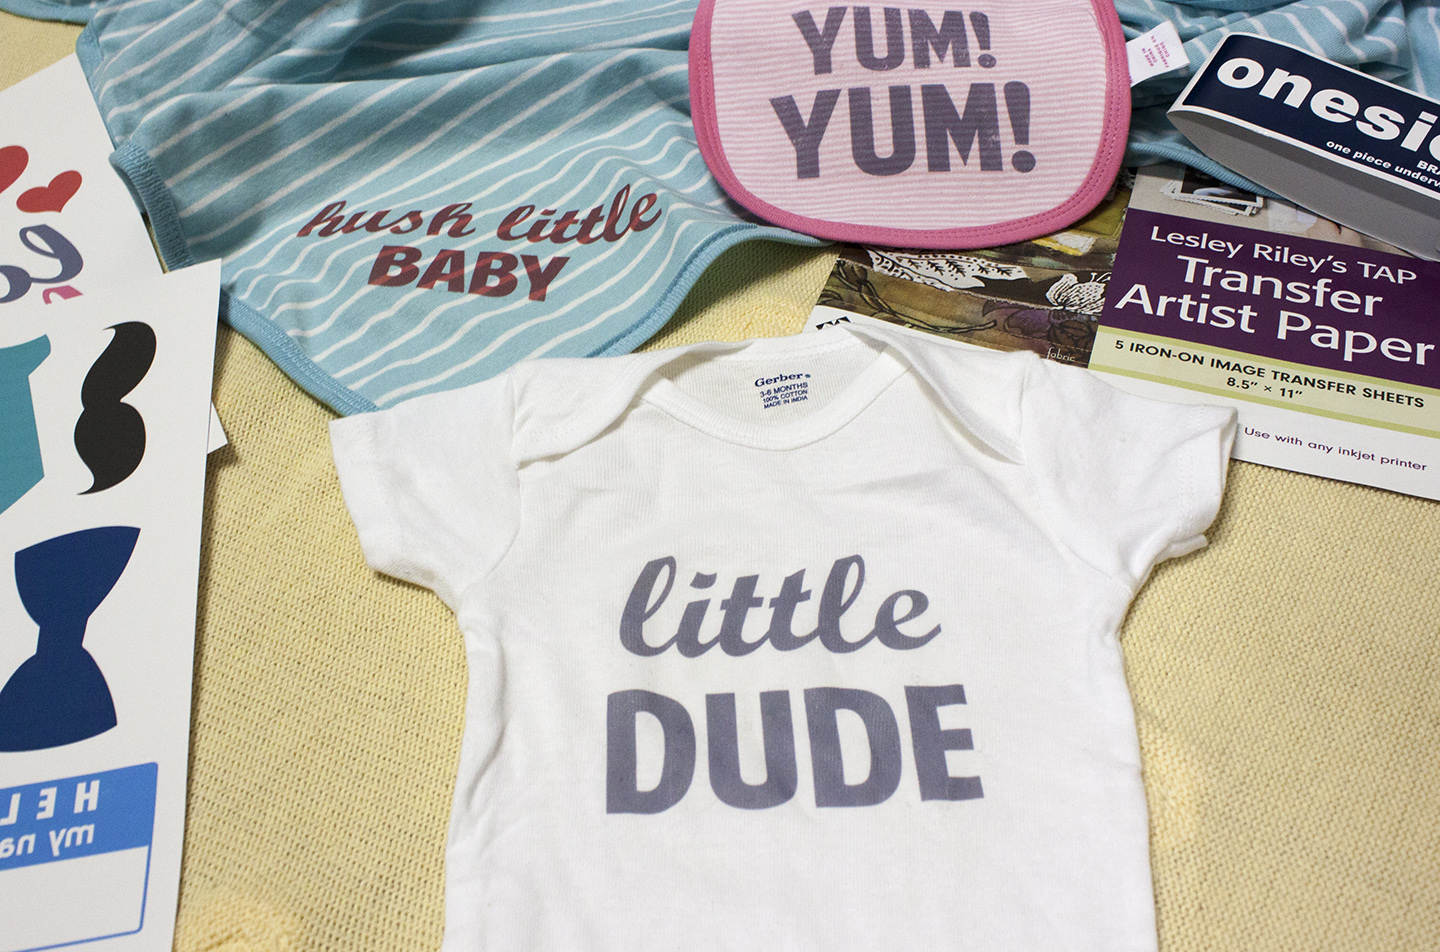
I couldn't leave little Landry out so I made him a few onesies.
I can't even begin to tell you how EASY and addictive these are to make. (Don't worry, I will tell you my secrets. And even give you some free printables! )
I discovered this Iron-On Transfer Artist Paper that made this project so fast.

For more precious photos visit my BeauTiedAffair blog.
Ok, are you ready to learn how and make your own?! :)
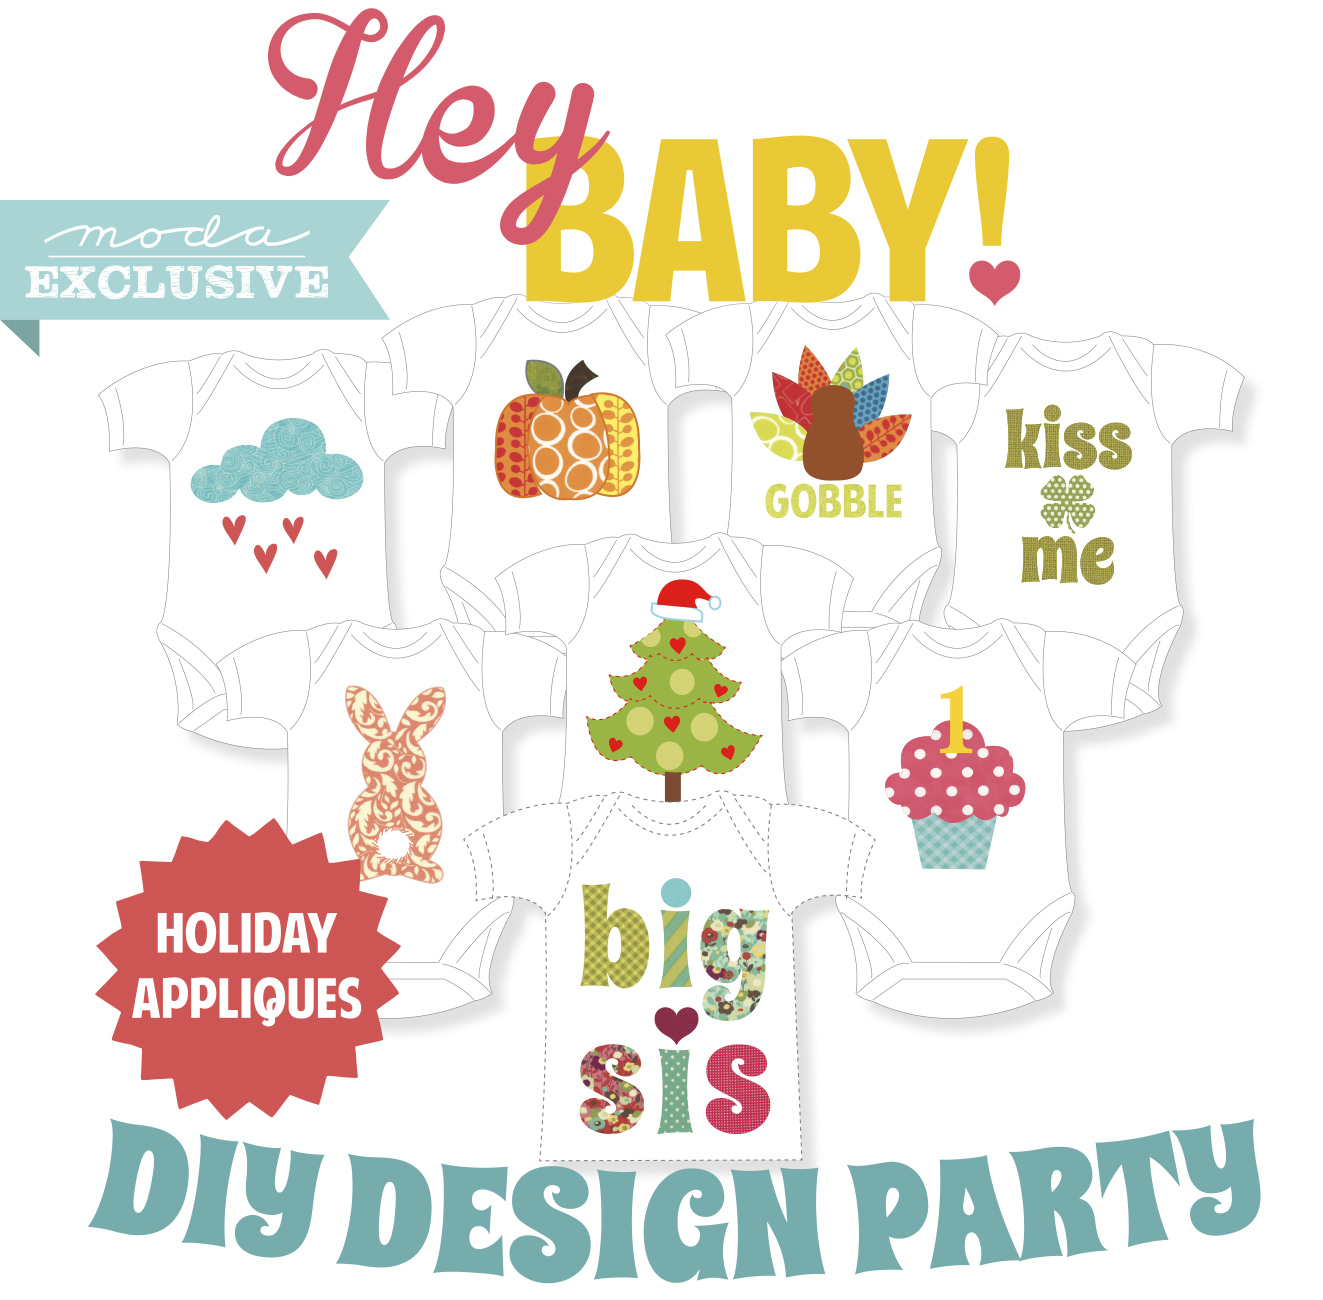
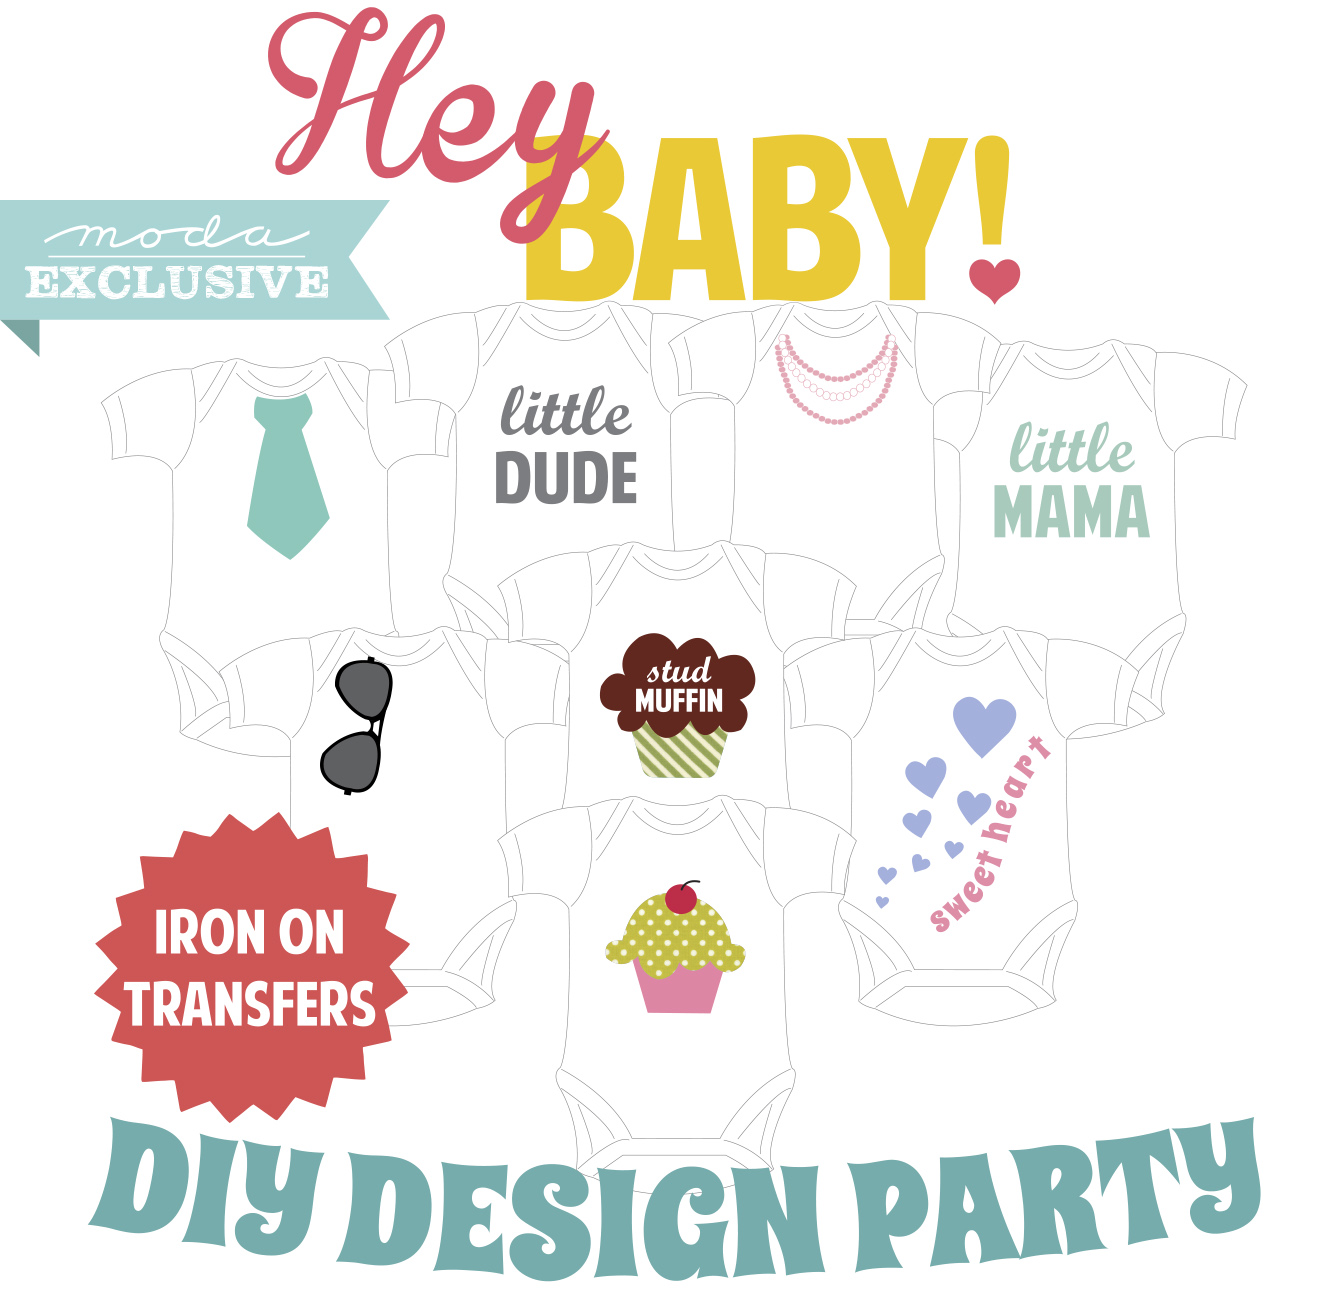
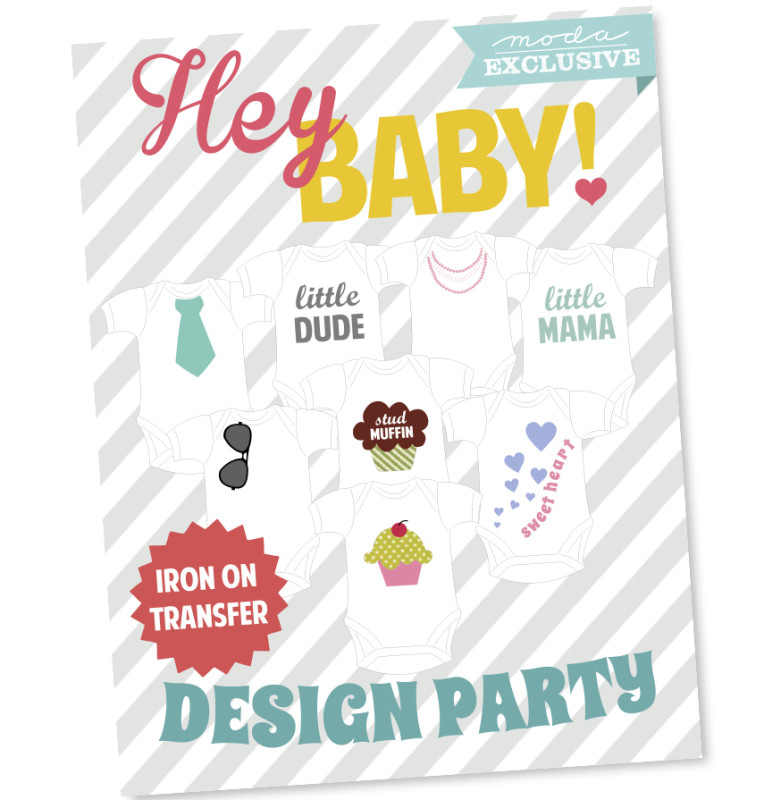
I have designed 2 easy to follow PDF's with designs included for you to make EITHER
1. AppliqueDesigns (such as the BIG SIS jacket) -this set includes holiday and birthday designs too!
OR
2. Iron-On Designs (such as the LIL BRO & little DUDE onesies).
Head over to our DIY Onesie Party post for instructions on the jacket and to download the PDF!
And now for your Transfer HOW-TO...
Start by gathering your supplies.
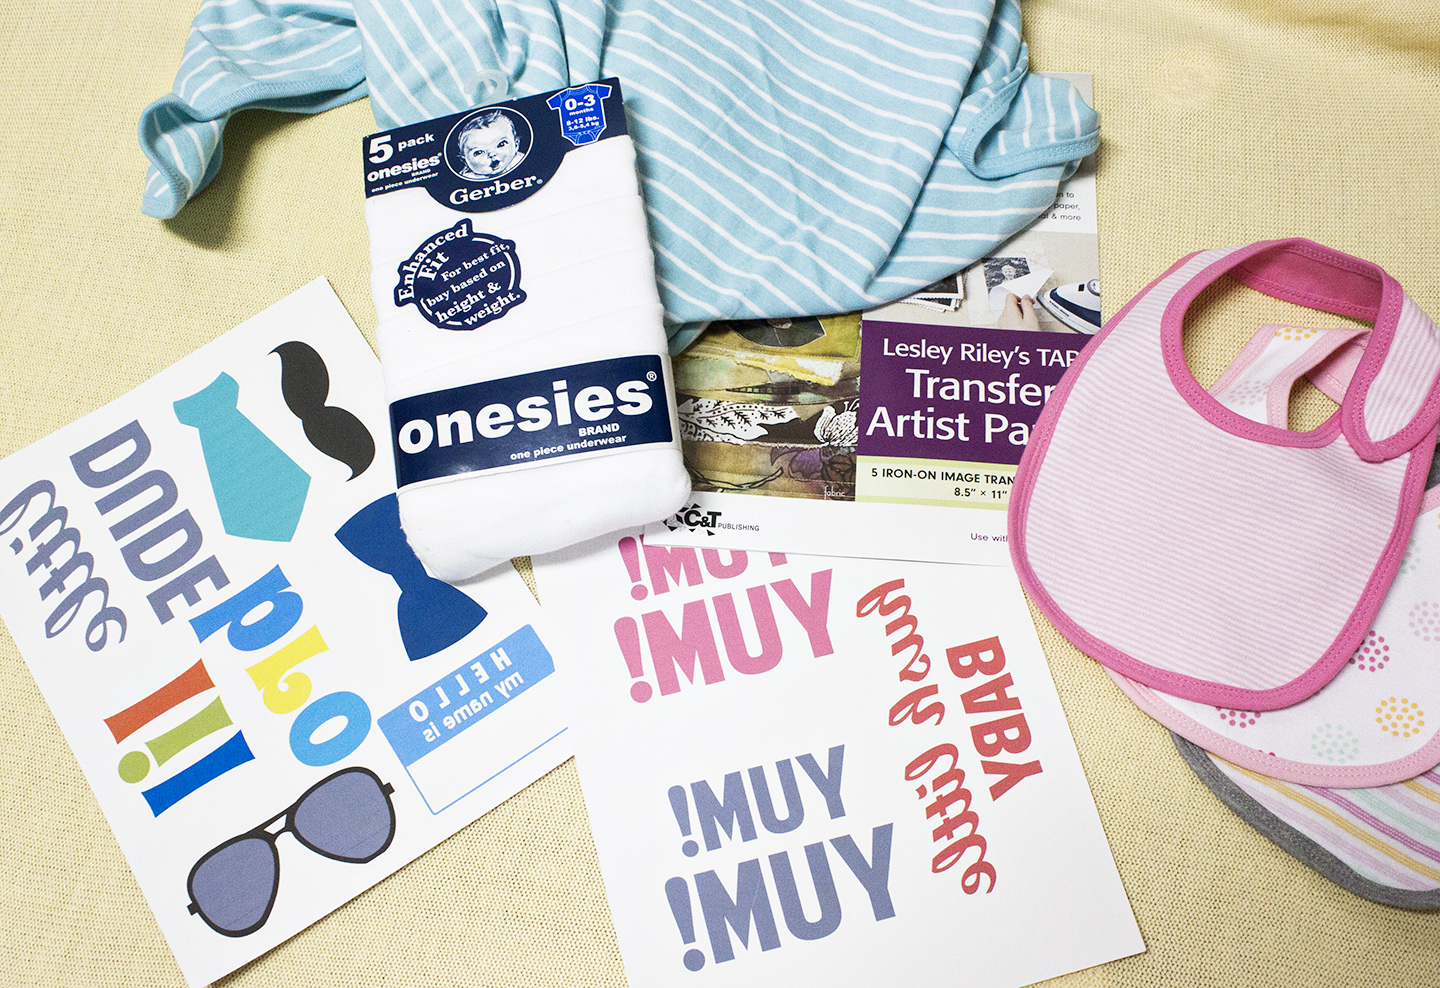
YOU WILL NEED:
1. OUTFITS & ACCESSORIES - get an assortment of onesies, shirts, bloomers, bibs, swaddle cloths and any other accessories you can think of to decorate.
Make sure to get a variety of colors/patterns/sizes. This makes it more FUN! :)
2. DESIGNS - These are included in my set for you. The designs are mirror image but will come out correctly when ironed down.
3. IRON ON TRANSFER PAPER - I use C&T’s Lesley Riley’s TAP Transfer Artist Paper- Iron-On Image Transfer Sheets.
***Make sure your paper is an iron on transfer paper.***
4. INK JET PRINTER - You MUST use an INK JET printer.
Laser printers will heat the paper too much and destroy it.
5. SCISSORS - I love my Karen Kay Buckley scissors.
6. IRON & IRONING BOARD
STEP 1
PRINT DESIGNS - Load your INK JET printer with the transfer paper. You want your designs on the WHITE side of the paper so make sure to load your printer accordingly.
My Transfer Artist Paper has a white side and a slightly creamy purple side. Follow the printing instructions on your transfer paper package to ensure you print on the correct side. The designs will appear backwards but that is how they should look. You can print any design of your own as well but make sure it is the mirror image.
TIPS:
1. If you are unsure which way to load your paper try a TEST page with regular printer paper.
- Label the bottom facing side FACE DOWN and the top facing page FACE UP. Print the designs and see which side they printed on. Then you will know which way to load your transfer paper.
2. Choose “Fit to Page” when printing so the designs do not get cut off around the edges.
STEP 2
Cut around designs Cut closely around your designs.

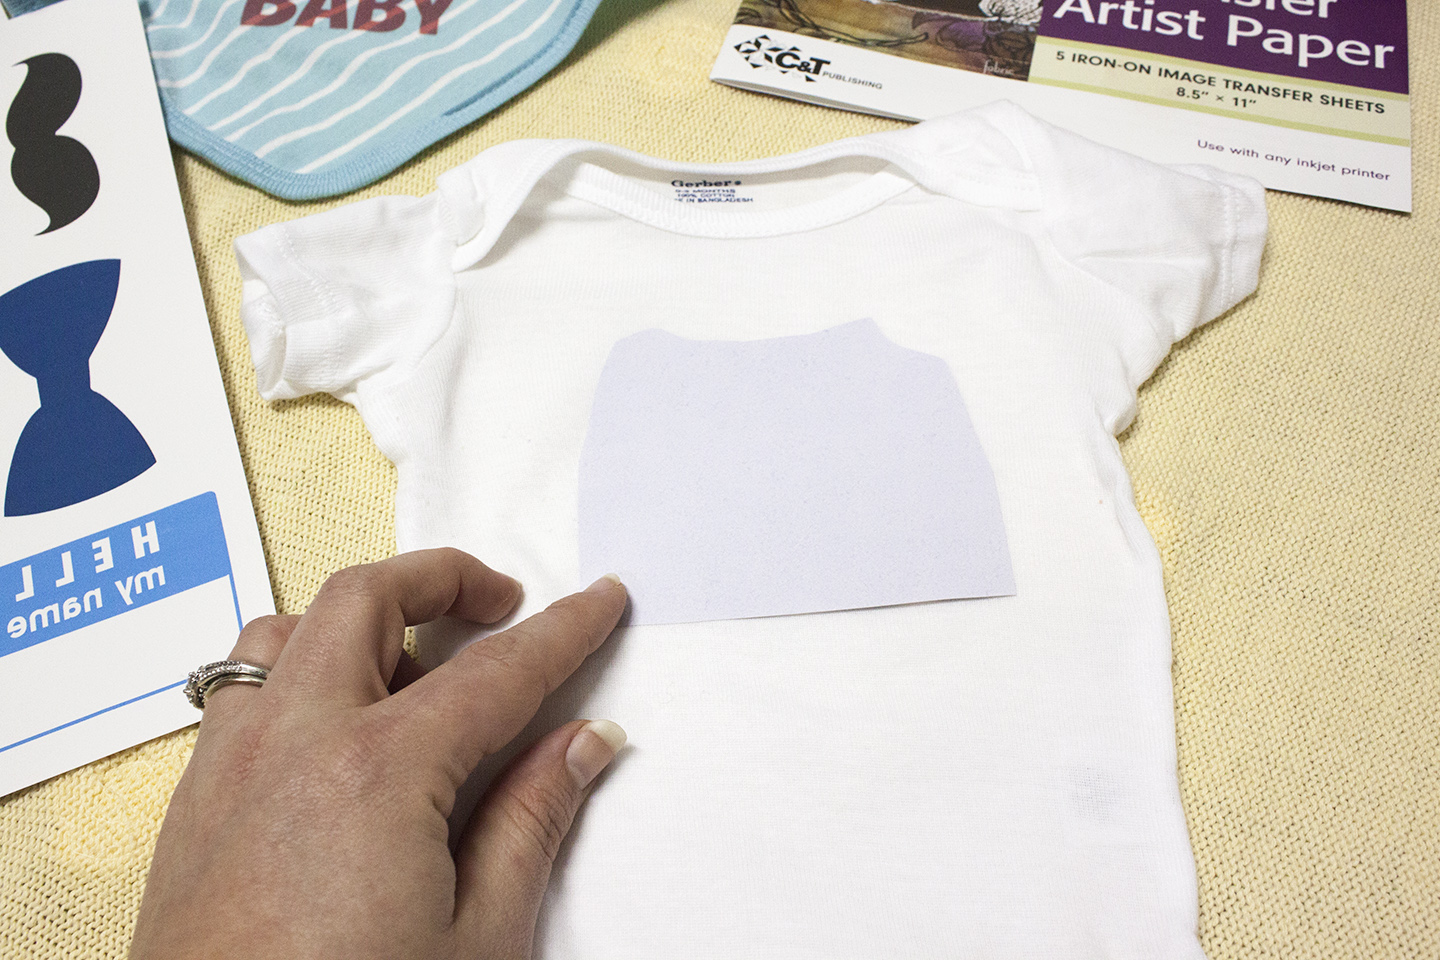
STEP 3
POSITION Using a sturdy, smooth surface, position your design on your onesie, shirt or accessory
exactly where you want it.
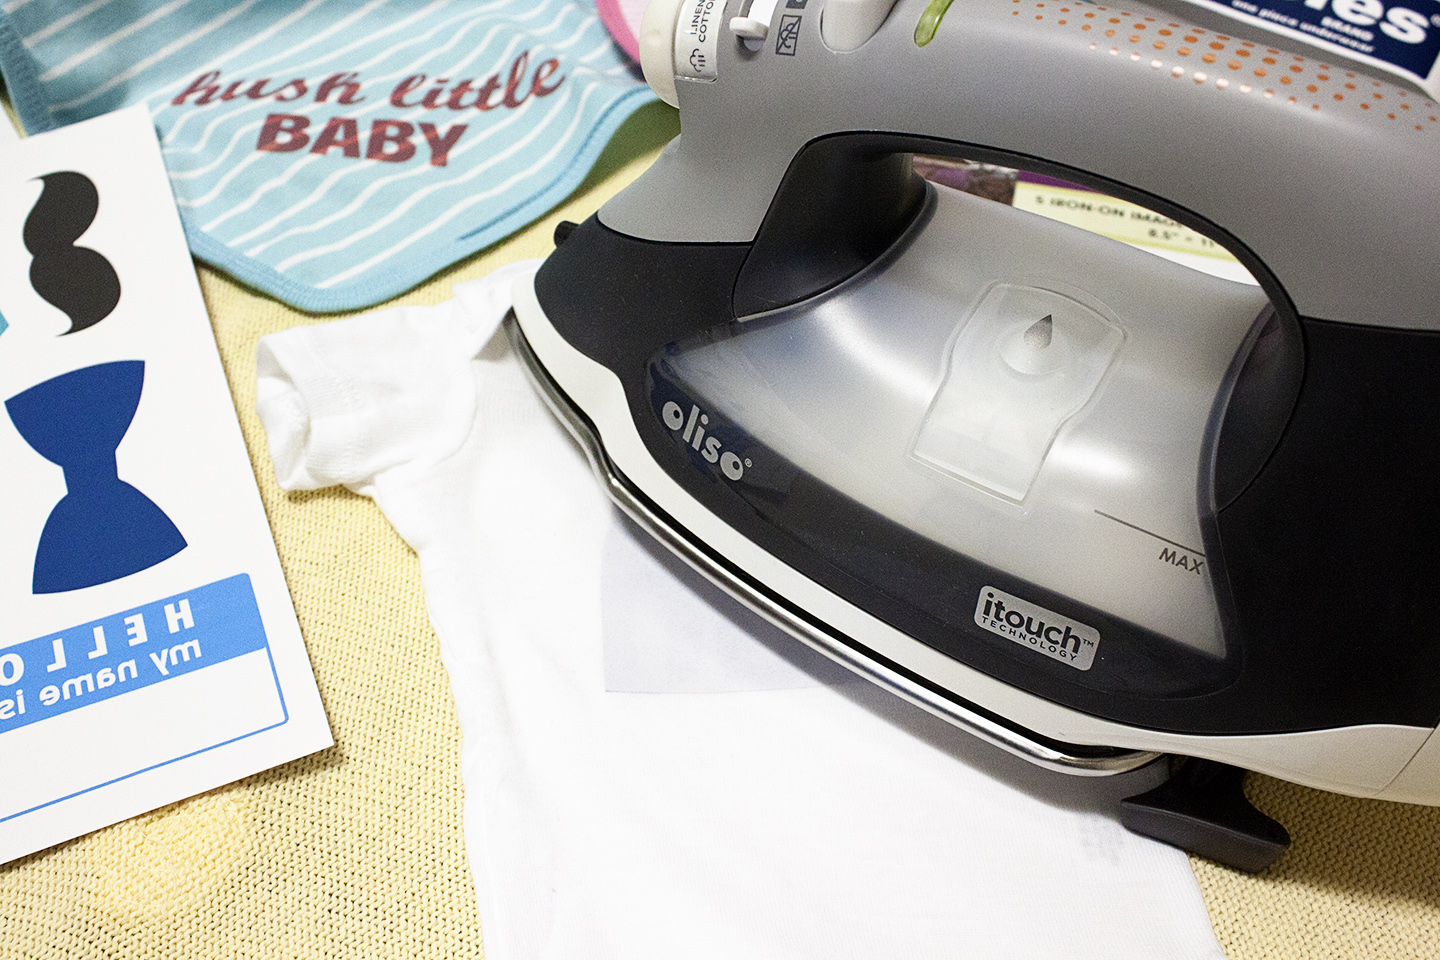
IRON With your pre-heated iron on the hottest setting (with NO steam), iron your design down.
Iron for approximately 10-30 seconds.
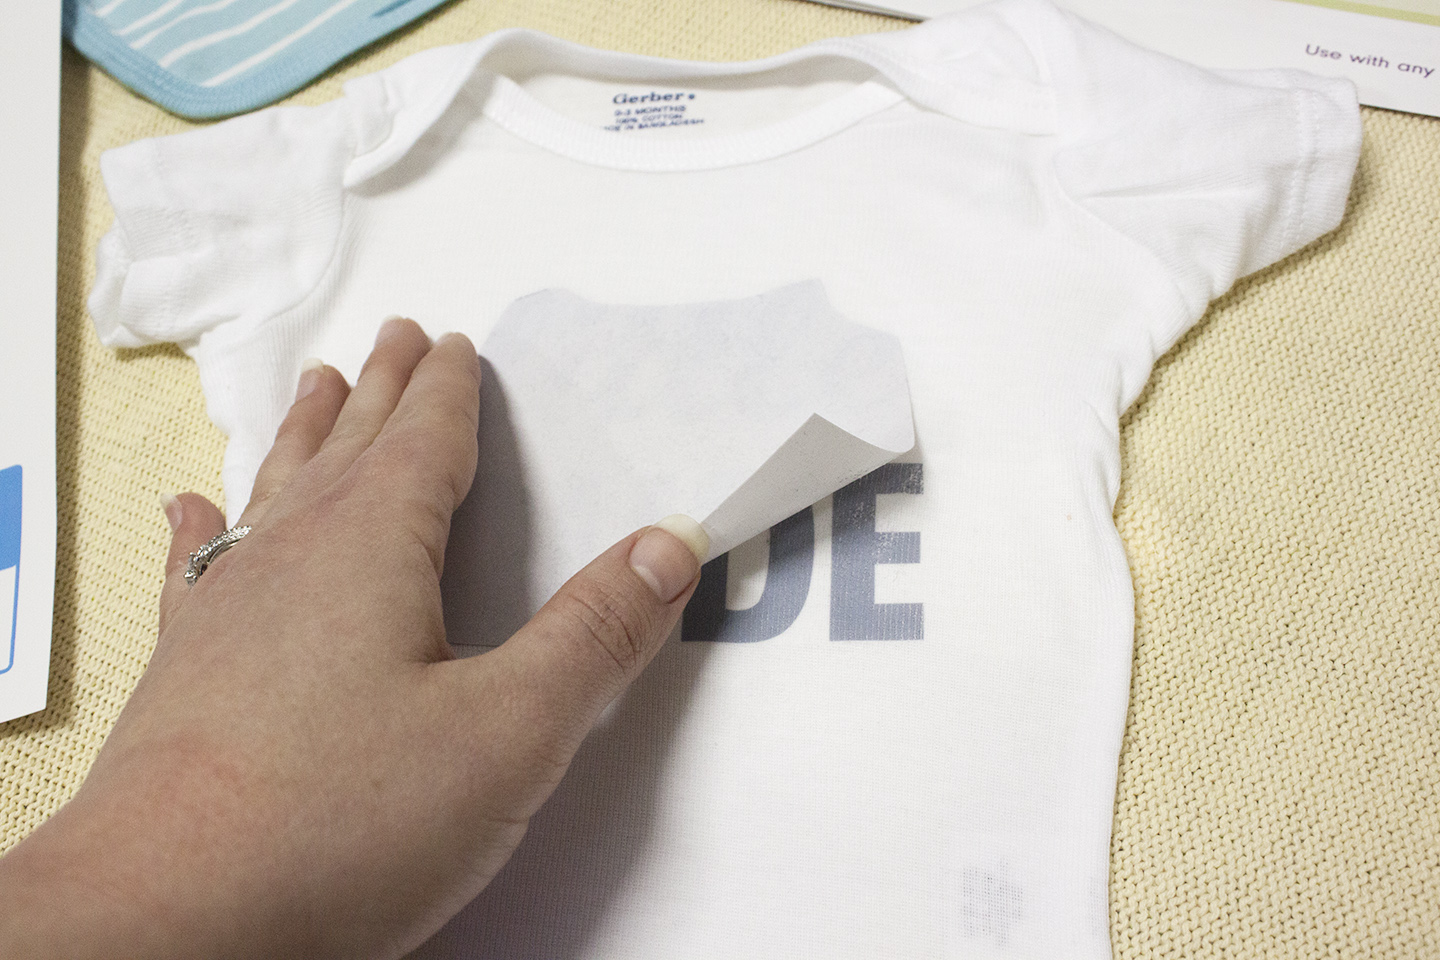
Test it by peeling the paper back to see if the design has transferred.
If not, gently put the paper back down and keep pressing until the design has completely transferred.
Some areas and colors may take longer. It is normal for some ink residue to remain on the paper.
PEEL Make sure to peel the paper off while it is still heated.
*Note that some fabrics will not take the ink as well as others. Notice on the bib below that some parts didn't take but I actually really like the way it looks because it looks a little vintage and roughed up. ;) My onesies and other cottons worked just fine though.
IRON Once the paper is removed iron the design again, making sure to apply sufficient heat and uniform pressure. This will fully bond the design, which impacts colorfastness. It may feel a littl stiff but it will soften when washed.
STEP 4
SHOW OFF Show off your finished design!
CARE
To protect your design, wash inside-out in cold water, on a delicate cycle, and hang to dry.
Here is the PDF to download and use for your DIY Design Party!
Have we inspired you to make anything?! The possibilities are endless! What will you make? :)
Posted in:
Comments